


Ever played back a recording only to hear sound from one side or two voices mixed together? Maybe an unexpected shout ruined your outdoor shoot. These common issues often stem from choosing the wrong channel mode, leading to poor audio quality or complex post-production fixes. Correctly setting your wireless microphone’s channel mode can enhance sound clarity, streamline editing, and save time. Let’s master wireless microphone channel modes!
Understanding Wireless Microphone Channel Modes
Channel modes determine how a wireless microphone processes and outputs audio signals, relying on the interaction between transmitters (TX) and receivers (RX). Here’s a clear breakdown of the three core modes:
- Mono: Combines all audio signals into a single channel, outputting identical sound to both left and right channels. How it works: Whether using one or multiple TX units, signals are mixed into one track, ideal for simple setups with strong compatibility.
- Stereo: Splits audio into independent left (L) and right (R) channels, supporting separated or mixed sound. How it works: With multiple TX units, TX1 can go to the L channel and TX2 to the R channel, creating spatial depth or enabling individual voice control. Requires stereo-compatible input devices.
- Safety Track: A Mono-only mode that records a main track at normal gain and a backup track at -12dB to prevent clipping. How it works: The backup track acts as a safety net for loud sounds, but requires post-production to isolate it. Perfect for unpredictable environments.
These modes depend on frequency groups and channels. Choosing the wrong settings can cause interference. Digital systems (like UHF) offer better sound quality than analog but demand careful battery and frequency management. Understanding these basics sets the stage for smarter mode choices.
Comparing Channel Modes
To help you choose the right mode, we’ve compared Mono, Stereo, and Safety Track based on their advantages, drawbacks, and technical needs (e.g., device compatibility, bandwidth, and post-production demands). This perspective complements scenario-based advice later in the guide.
| Mode | Pros | Cons | Technical Requirements |
|---|---|---|---|
| Mono | High compatibility, small file size, easy setup, low power use | Lacks spatial depth, no voice separation for multiple sources | Works with single TX, compatible with any device, no stereo input needed, low bandwidth |
| Stereo | Rich spatial sound, separable channels, immersive experience | Larger files, prone to interference, higher device requirements | Requires dual TX, stereo input (e.g., 3.5mm TRS), higher bandwidth, frequency management needed |
| Safety Track | Anti-clipping backup, reliable in tough conditions | Requires post-production separation, Mono-only | Mono mode, dual TX support, post-production software for backup track, moderate bandwidth |
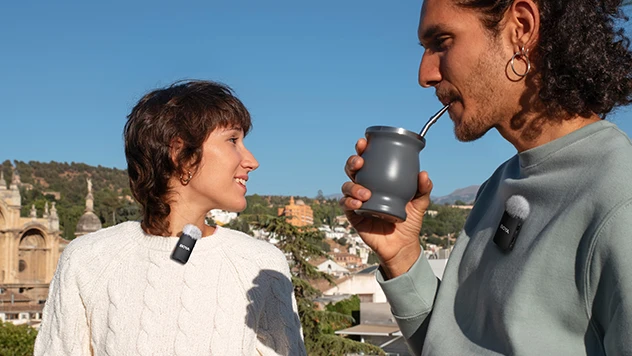
For example, using the BOYA mini 2 for a dual-person interview in Stereo mode requires confirming your camera supports stereo input to avoid one-sided audio. This comparison helps you match modes to your gear and goals.

Choosing the Best Channel Mode for Your Scenario
Selecting the right channel mode depends on your recording environment and audience. Here’s a scenario-based guide to address pain points like “mixed voices in interviews” or “clipping in outdoor shoots.”
| Scenario | Recommended | Why | Tips |
|---|---|---|---|
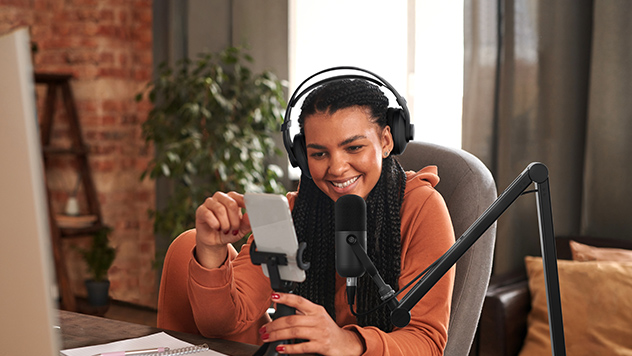
| Solo Recording (Vlogs, Live Streams) | Mono | Centers audio for consistent playback across all platforms, preventing “one-sided sound” issues | Single TX simplifies setup, perfect for beginners |
| Dual/Multi-Person Dialogue (Interviews, Talks) | Stereo (split tracks) | Assigns TX1 to L channel and TX2 to R channel, allowing independent volume or noise adjustments in post-production | Record an interview with BOYA mini 2 in Stereo mode to separate voices cleanly |
| Music or Ambient Sound Recording | Stereo (mixed tracks) | Captures spatial depth and directional details | Ideal for immersive videos or stage performances |
| Outdoor/High-Risk Environments | Safety Track (Mono) | The -12dB backup track prevents clipping from sudden loud sounds (e.g., wind or shouts) | Use BOYA mini 2’s Safety Track for outdoor events to save clips from distortion |
Golden Rule: When unsure, record in Stereo for flexibility—you can convert to Mono later, but not vice versa.
Step-by-Step Setup Tutorial
Proper setup prevents most audio issues. Here’s a practical tutorial for configuring channel modes on your wireless microphone system.
- Prepare Your Gear: Fully charge TX and RX units. Ensure a reliable connection using a 3.5mm TRS cable (for Stereo support) or USB-C adapter. Keep TX-RX distance under 100m for stable signals.
- Switch Modes: Use the device’s companion app (e.g., BOYA App Central) to select Mono, Stereo, or Safety Track. Check for L/R indicators (Stereo) or Mono confirmation on the RX display.
- Ensure Device Compatibility: For cameras, set “stereo input” in the audio menu. For phones, use apps like Filmic Pro that support external stereo input, as default apps may revert to Mono.
- Manage Frequencies: Run a frequency scan in the app to choose interference-free channels, ensuring TX1 and TX2 are spaced a few MHz apart, per FCC wireless mic regulations.
- Test and Optimize: Record a test clip to check for delays, noise, or distortion. Enable low-cut filters to reduce background hum and adjust gain to avoid peaking.
Advanced Tips
Your channel mode choice impacts editing efficiency. These tips leverage each mode to streamline post-production.
- Mono: Verify left/right channel balance, then apply global effects like EQ or compression for uniform sound enhancement.
- Stereo: In software like Adobe Premiere or DaVinci Resolve, use “audio channel mapping” to split L/R into separate Mono tracks for individual noise reduction or volume tweaks.
- Safety Track: In Mono mode, if the main track clips, extract the -12dB backup track in post-production. Import the file, isolate the backup, and replace distorted segments.
Pro Tip: Test-record to set proper gain levels, cutting editing time by up to 50%. These techniques address queries like “wireless mic stereo track separation” or “fixing clipped audio.”
Wrapping Up
Channel modes are the backbone of great wireless microphone recordings. Use Mono for solo simplicity, Stereo for flexible dual-person edits, and Safety Track in Mono for outdoor reliability. Follow these best practices: test-record to check gain, update firmware regularly, and scan frequencies to avoid interference.
To learn more about the latest news from BOYA, join in our official social media accounts: Facebook, Youtube, Instagram.
FAQ
Why is audio only on one side?
Likely in Stereo mode with a loose connection or unsupported device input. Fix: Switch to Mono or ensure the TRS cable is fully inserted and the device supports stereo input.
Why are two voices mixed together?
Mono mode combines all TX signals. Fix: Use Stereo mode to split TX1/TX2 into L/R channels.
How do I use Safety Track?
Enable in Mono mode to record a -12dB backup track. In post-production, split the Mono file to access the backup and fix clipped audio. For a detailed explanation of the microphone Safety Track feature, read our dedicated guide.
Why is there interference?
Channel overlap. Fix: Use the app to scan and assign distinct channels to TX1/TX2.
Why does the battery drain fast?
Stereo or Safety Track modes consume more power. Fix: Use Mono for solo recordings or optimize gain settings.
Does my device support Stereo?
Most dual-TX systems support Stereo via TRS interfaces, but confirm device input compatibility. Avoid Bluetooth Headset modes, which may downgrade to low-quality Mono.