


You've experienced it: wind hits the mic, and your preamp meters immediately jump to clipping. Or indoor recording where air conditioning forces you to lower the Gain. The result: pushing the gain leads to clipping, but lowering it buries the vocals in noise floor (low SNR).
The real limiter isn't always "bad gear." It's the high-energy, nearly inaudible low-frequency noise below 150 Hz. This noise steals Headroom by grabbing the instantaneous peaks, forcing you to reduce gain and subsequently worsening your Signal-to-Noise Ratio.
One-Sentence Conclusion: By simply engaging the hardware High-Pass Filter (HPF), you can typically free up 2–5 dB of Headroom, instantly improving your recording quality.
Our core argument is that low-frequency energy acts as a peak thief at the frontend of your signal chain. This guide will analyze the Low-Cut ↔ Max SPL ↔ SNR causality and provide the professional "Filter First, Amplify Second" workflow.
How Does Low-Frequency Noise Steal My Dynamic Range?
Headroom is the safety space between the Noise Floor and the 0 dBFS Clipping Point.
Low-Frequency Rumble / Subsonic Noise: Unwanted, high-energy components typically below 150 Hz. They fall into three categories:
- Environmental Noise: HVAC systems, traffic rumble, room resonance.
- Mechanical Noise: Handling noise, floor vibrations, device movement.
- Electrical Noise: DC Offset and other subsonic components from gear.
Low-Frequency Physics and Peak Stealing
The threat to Headroom comes from the distinct physics of low frequencies: massive physical amplitude. Due to the Fletcher-Munson Curves, our ears are less sensitive to low frequencies. This means a low-frequency sound, even if perceived as quiet, possesses a physical waveform amplitude that can be several times larger than the desired signal.
- Peak Stealing: These large-amplitude low-frequency waves sum with your desired signal, directly inflating the total instantaneous peak level. Since the system judges clipping based on this total peak, the low-frequency noise prematurely triggers the limit.
- Dynamic Range Contraction: This peak stealing compresses your dynamic range from both ends. It forces a gain reduction (capping the top end), and environmental rumble raises the noise floor (lifting the bottom end). To delve deeper into the professional decisions on the trade-off between Max SPL and SNR, see our detailed guide.
Summary for Beginners: The Low-Cut Filter isn't designed to "make the sound thin"; it's designed to surgically remove the silent, high-energy components that cause the system to clip prematurely.
How Can the Low-Cut Filter Solve My Headroom Problem?
The High-Pass Filter (HPF) physically eliminates the high-energy low-frequency peaks before they reach the amplification stage. To learn more about how a microphone low-cut works at the circuit level, click here.
Why is Hardware Crucial? Clipping is irreversible. The correct signal path is: Sound Wave → Capsule → Hardware HPF → Preamp → A/D Conversion. A hardware low-cut ensures that the peak energy is removed before the preamp circuit, making it the only effective way to prevent frontend clipping. Software EQ cannot repair damaged waveforms.
Causality Chain: Quantifying Headroom Release
The Low-Cut Filter creates a crucial energy balance that directly improves SNR. This is a complete, non-speculative causal chain:
Stronger Low-Cut → Less Low-Frequency Energy → Peak Level Drops → Preamp Available Space (Headroom) Increases → You Can Push Gain Higher → Signal-to-Noise Ratio (SNR) Naturally Improves.
Practical Experience: Engaging a 150 Hz Low-Cut (a typical setting for portable use) often results in a measurable 3–6 dB drop in peak levels, allowing you to safely increase your gain by the same amount. This is your immediate SNR boost.
What Are the Best Low-Cut Settings and Workflow for Recording?
In practice, choosing the right Cutoff Frequency and Slope is essential:
| Scenario | Recommended Cutoff Frequency | Recommended Slope | Professional Tip |
|---|---|---|---|
| Indoor Vocals/Podcast | 80–100 Hz | 18 dB/oct | Safest, most universal setting for Headroom protection. |
| Outdoor Interview/Vlog | 120–150 Hz | 18–24 dB/oct | Prioritize Headroom to combat strong wind noise. |
| Lower Male Vocals | 75–90 Hz | 12–18 dB/oct | 12 dB/oct balances Headroom with retaining vocal "fullness." |
| Bass Instruments | 30–40 Hz or OFF | 12 dB/oct | Only removes subsonic interference, preserves musical content. |
Pro Tip: Steeper slopes (e.g., >18 dB/oct) can introduce more aggressive phase distortion, potentially affecting transient clarity. 12 or 18 dB/oct usually offers the best balance.
Standardized "Filter First, Amplify Second" Six-Step Workflow
Following this process can boost your SNR by 10–20 dB:
- Zero Gain: Set the preamp gain to the minimum level.
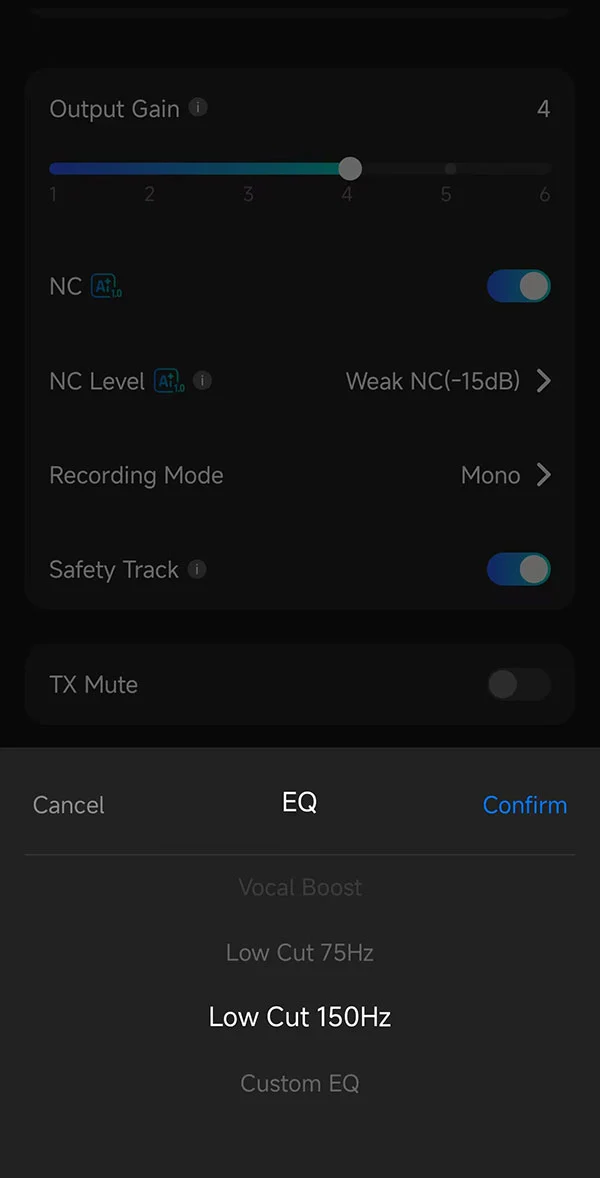
- Engage Low-Cut: Turn on the hardware HPF, starting at 100 Hz 18 dB/oct as a baseline.
- Performer Test: Have the performer speak/sing normally and observe the peak meter drop.
- Adjust Gain: Slowly raise the gain until the average peak safely hits the recommended range of −12 dBFS to −8 dBFS (with transients not exceeding −6 dBFS).
- Check Waveform: Ensure the waveform is clean and shows no signs of clipping.
- Fine-Tune: If audible rumble persists, gradually adjust the cutoff frequency up by 10–20 Hz and compensate the gain.
Conclusion
The Low-Cut Filter is not a simple "subtractive EQ"; it is a professional Energy and Peak Management tool. It removes energy that contributes nothing to audio quality but critically consumes dynamic space. The earlier this step is done, the safer your entire signal chain is.
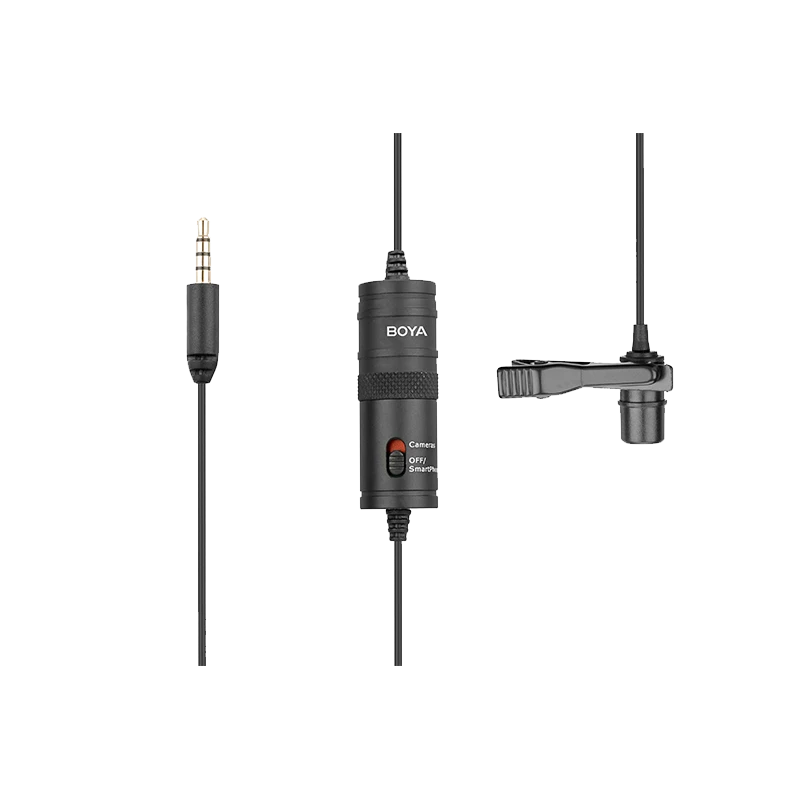
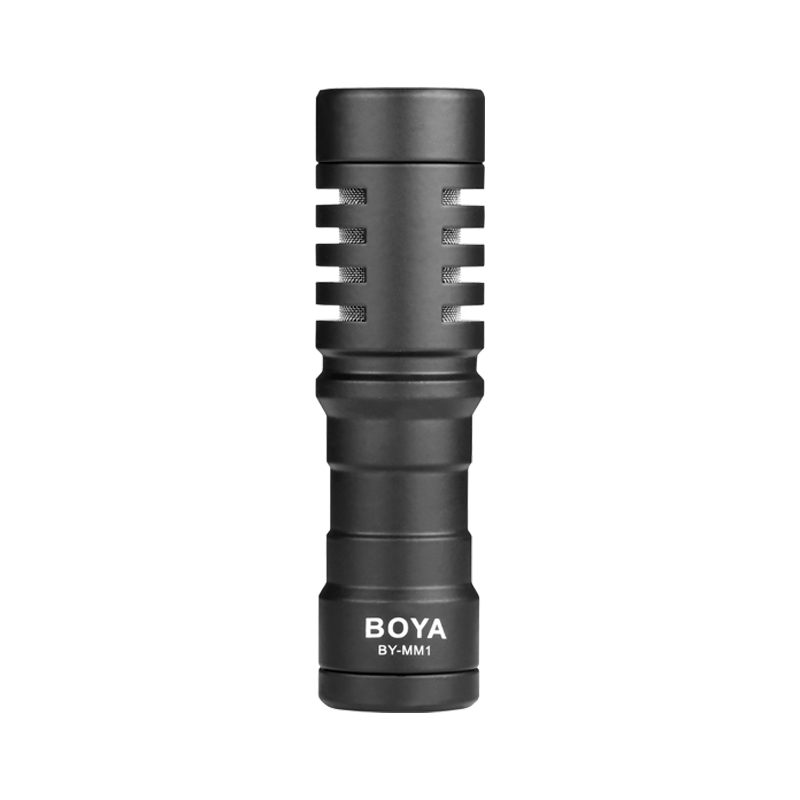
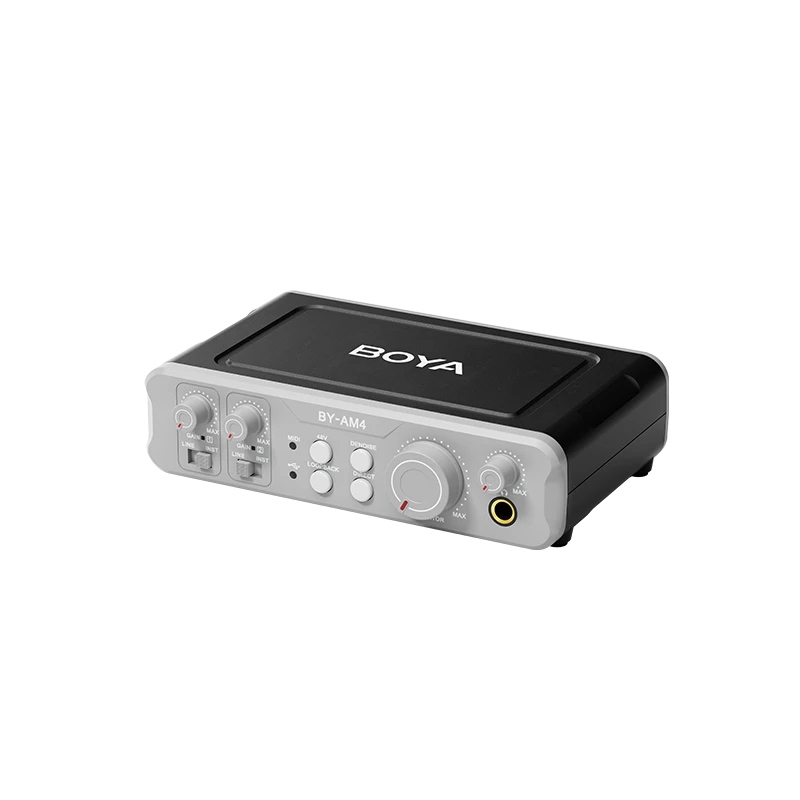
Many creators spend heavily on microphones and preamps but only utilize 40–60% of their true dynamic capability because they leave the low-cut off. The "Filter First, Amplify Second" principle allows you to maximize your gear's potential at zero cost. If you are looking for portable gear with essential features, consumer-grade products like the BOYA mini 2 offer built-in hardware low-cut options at 75 Hz and 150 Hz, making Headroom management easy for mobile recording.
The 5-Second Pre-Recording Checklist
You will be surprised by the immediate improvement in clarity and cleanliness. Take back the Headroom that low-frequency rumble has been stealing!
| Step | Action | Goal |
|---|---|---|
| HPF | Turn ON Hardware Low-Cut (80–100 Hz) | Instantly free up 2–5 dB Headroom |
| Gain | Slowly push gain from zero | Ensure "Filter First, Amplify Second" |
| Average Peak | Target -12 dBFS to -8 dBFS | Maximize Dynamic Range usage |
| Max Transient | Peaks must not exceed -6 dBFS | Prevent Clipping |
| Tone Check | If sound is too thin → lower Cutoff Frequency | Find the balance between Headroom and tonal quality |
To learn more about the latest news from BOYA, join in our official social media accounts: Facebook, Youtube, Instagram.
Frequently Asked Questions
Does engaging the Low-Cut increase the microphone's Max SPL?
Indirectly, yes. While the microphone's (capsule's) physical Max SPL capacity does not change, the preamp circuit becomes less prone to overload because the dominant low-frequency peaks are removed. This effectively raises the system's overall undistorted input tolerance by 2–5 dB. To accurately understanding the physical meaning of Max SPL, consult our detailed guide.
Does the Low-Cut prevent preamp clipping?
Yes. Since the hardware Low-Cut operates before the preamp's amplification stage, it reduces the total signal level entering the circuit by removing high-amplitude low-frequency energy, thereby preventing the preamp from overloading and clipping.
Why is 80 Hz often recommended for professional vocals, despite low-frequency loss?
Vocal clarity and intelligibility primarily rely on the 300 Hz–3 kHz range. The 80–100 Hz energy contributes very little to speech information but causes the most damage to the dynamic range. Removing this useless energy makes the resulting audio cleaner and more present.
Can software EQ completely replace a hardware Low-Cut?
No. Software EQ is a post-recording remedial tool used for mixing. It cannot repair or undo clipping that occurred at the hardware frontend. Prevention is always superior to cure.
What if the sound becomes too thin after engaging the Low-Cut?
This usually means the cutoff frequency is set too high. Try reducing the slope to 12 dB/oct first, and then gradually lower the cutoff frequency by 10–20 Hz. Cutting above \sim 130 Hz can strip away necessary vocal warmth and chest resonance.