TL;DR Key Takeaways
The Low Cut (HPF - High-Pass Filter) is a physical filter that attenuates low-frequency noise before the signal is amplified (typically at fixed points like 75Hz, 100Hz, or 150Hz with a slope of 12dB/oct). Its core value is the "Filter First, Amplify Second" principle, instantly resulting in cleaner vocals and maximized dynamic headroom.
Practical Steps:
- Engage Low Cut (Preferably on the hardware, starting with the lowest available setting, e.g., 75Hz).
- Adjust Gain so the loudest peak levels hit between -12 dBFS and -6 dBFS.
- Perform an Loudness-Matched A/B Comparison.
- If the voice sounds thin, reduce the frequency (stick to 75Hz). If the environment is still muddy, try the higher setting, such as 150Hz.
What is the Microphone's "Low Cut" Function?
Many beginners struggle with recordings that sound "muddy," "boxy," or overly "boomy." This is often caused by excessive low-frequency noise. The Low Cut switch on your microphone is the key feature to solve these issues.
Professionally known as the High-Pass Filter (HPF), the Low Cut function is designed to only allow frequencies higher than a specific point (e.g., 75Hz, 100Hz, or 150Hz) to pass through, while aggressively attenuating signals below that frequency.
- Core Value: The Low Cut is the first physical acoustic barrier to ensure audio clarity and optimize dynamic range. By removing unwanted low-frequency energy, vocal intelligibility immediately improves.
Why is the Low Cut Filter Critical for Recording?
Extreme low-frequency noises—like air conditioning hum, traffic rumble, computer fan vibration, or stage floor noise—often have massive energy. They not only make the sound "muddy" but critically consume valuable dynamic headroom. If low-frequency signals are too high at the input stage, increasing gain will quickly lead to clipping and distortion.
The importance of the Low Cut is that it physically solves the problem at the source, before the signal reaches the preamplifier (Preamp). This is an advantage that post-production software noise reduction cannot replicate.
30-Second Quick Start Checklist
To successfully set your Low Cut switch, follow these three steps:
- Step 1 (Physical Filtering): Turn on the Low Cut/HPF switch on your device (Start with the lowest setting, such as 75Hz or 80Hz, typically at 12 dB/oct).
- Step 2 (Gain Adjustment): Adjust the microphone's gain while speaking to keep the audio peak levels safely between -12 dBFS and -6 dBFS.
- Step 3 (A/B Comparison): Record two 10-second samples (one with Low Cut ON, one OFF) and perform a loudness-matched playback comparison.
- Judging Criteria: If the sound is clearer, the setting is successful. If the voice sounds noticeably thin, return to the 75Hz setting or reduce the filter slope (if adjustable).
Low Cut Principles: Achieving "Precise Filtering"
The Technical Core of Low Cut: High-Pass Filter (HPF)
To understand Low Cut, you must grasp two core parameters:
- Cut-off Frequency: For example, 75Hz, 80Hz, 100Hz. This is the frequency point where the signal begins to be attenuated. Signals below this frequency are affected by the filter.
- Attenuation Slope: Typically expressed in dB/Octave. This is the key factor determining how "aggressively" the frequency is cut. A steeper slope (e.g., 18 dB/oct) means faster, more abrupt attenuation; a gentler slope (e.g., 6 dB/oct) means a smoother, more transparent transition.
Hardware Low Cut vs. Software Low Cut
In audio production, there are two ways to implement low cut, but their position and role in the signal chain are fundamentally different:
| Feature | Hardware Low Cut (Physical) | Software Low Cut (DAW) |
|---|---|---|
| Position | Microphone, Mixer, or Audio Interface | Plug-in within a DAW (e.g., Pro Tools, Logic, Audition) |
| Advantage | Processes signal before amplification, preventing low-frequency overload and clipping. | Flexible, allows precise adjustment of frequency and slope; can be corrected later. |
| Disadvantage | Limited adjustment, usually just ON/OFF or a few fixed frequencies (e.g., 75Hz/150Hz). | Cannot fix low-frequency overload during recording (distortion has already occurred). |
Conclusion: Prioritize engaging the Low Cut on the hardware side (physical), as it is the foundation of the "Filter First, Amplify Second" golden rule.
When to Engage and How to Use It
- Neutralizing "Proximity Effect": When using directional microphones (cardioid, supercardioid) close to the source, low frequencies are artificially boosted. Engaging the Low Cut (e.g., 100Hz or 150Hz setting) is essential to counteract this bass boost.
- Isolating Environmental Noise: Persistent low-frequency background noise from HVAC, fans, computer hum, or distant traffic.
- Suppressing Handling Noise: Friction sounds from holding the mic, desk resonance from the stand, or footsteps during recording.
- Recording Vocals/Narration: The vast majority of vocal recordings prioritizing clarity will benefit from engaging Low Cut at 75Hz or 80Hz.
When to Disable/Use Caution
- Low-Frequency Instruments: Recording kick drums, bass guitars, or pipe organs, where the core energy relies on frequencies below 75Hz.
- Deep, Rich Male Vocals / ASMR: Recording extremely low voices where the core warmth and "thickness" of the sound might be lost if the Low Cut frequency is too high (e.g., 150Hz).
Should You Turn Low Cut ON?
| Recording Goal/Environment | Decision Flow | Recommended Action |
|---|---|---|
| Vocals/Speech/Interview? | → YES | Is there rumble/wind/vibration? → YES → Engage Low Cut. |
| Voice sounds thin after engaging? | → YES | Drop to the 75Hz setting or reduce the slope. |
| Goal is "Low-Freq Instrument/Thickness/ASMR"? | → NO | Disable, or set to a Gentle Cut ≤75Hz (6–12dB/oct). |
| Conference/Remote Dialogue/Clarity First? | → YES | Engage Low Cut 100Hz or 150Hz; (Optional: lightly boost EQ around 3–5kHz for intelligibility). |
| Strong Outdoor Wind? | → YES | Use a physical windscreen first (e.g., dead cat); Low Cut is secondary support. |
The Philosophy of 75Hz, 100Hz, and 150Hz
Different Low Cut frequencies represent different trade-offs between sound thickness and environment noise removal. Understanding these fixed values helps you utilize the 75Hz and 150Hz settings on your gear.
| Cut-off Frequency | Strategic Position | Acoustic Meaning | Applicable Scenarios (When to Engage) |
|---|---|---|---|
| 75Hz (Low Setting) | Safety & Thickness First | Most conservative filtering, primarily removes sub-harmonics and handling vibration. Maximally preserves vocal fundamental frequencies. | Relatively quiet indoors, deep narration, ASMR, or only when handling noise removal is needed. |
| 100Hz (Industry Standard) | Balance & All-Purpose | The industry standard balance point. Highly effective at neutralizing most Proximity Effect. | Most indoor podcasting and interviews. |
| 150Hz (High Setting) | Cleanliness & Extreme Noise | Most aggressive, starts to cut into the vocal fundamental range. Intelligibility is the top priority. | Strong outdoor wind, noisy streets, scenarios requiring thorough removal of rumble, or extreme proximity effect. |
The Field Operation Cheat Sheet: Target × Suggested Cutoff
To make the best use of your fixed 75Hz and 150Hz settings, use this quick reference:
| Target Sound Source | Suggested Cutoff (Fixed Freq / Slope) | Notes |
|---|---|---|
| General Vocals/Podcasting | 75Hz / 12dB/oct | Try 100Hz for better clarity. If the voice sounds thin, revert to 75Hz. |
| Noisy Indoor (HVAC/Rumble) | 150Hz / 12dB/oct | Clarity is priority. Choose the 150Hz setting on your device. |
| Outdoor Vlogging (Light Wind) | 150Hz / 12dB/oct | Physical windscreen (dead cat) is mandatory; Low Cut provides backup. |
| Pronounced Proximity Effect | 150Hz / 12dB/oct | Effectively neutralizes the bass boost. Also, ensure the mic is 4–6 inches (10–15cm) away. |
| Acoustic Guitar/Piano | 75Hz / 12dB/oct | Maintains natural low-end. The 75Hz setting is the safest choice. |
| Deep Male Voice/ASMR | 75Hz / 6–12dB/oct | Thickness is priority. Avoid excessive cutting of the fundamental frequency. 75Hz is safest. |
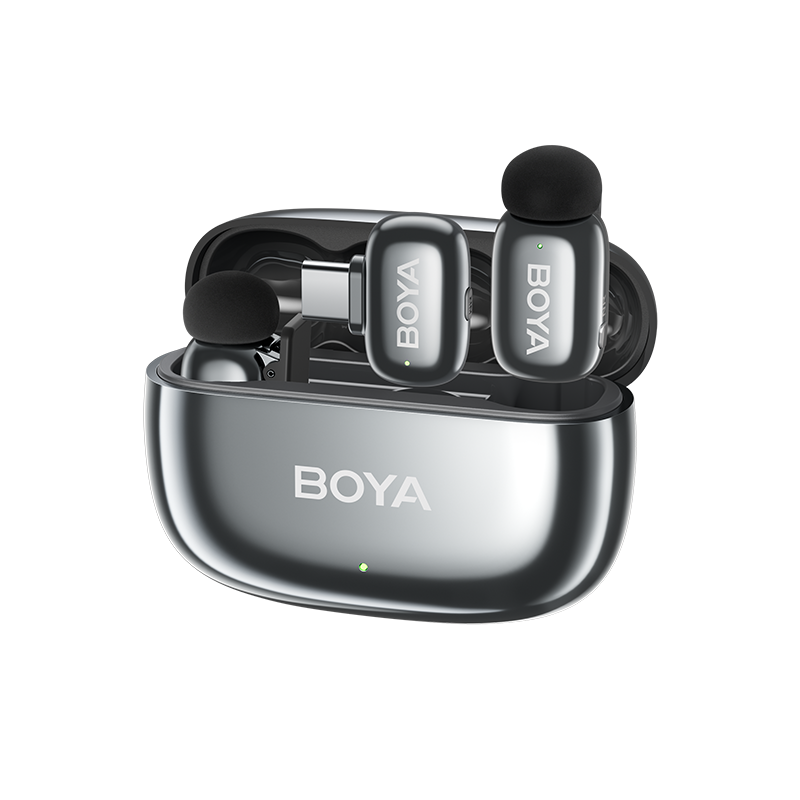
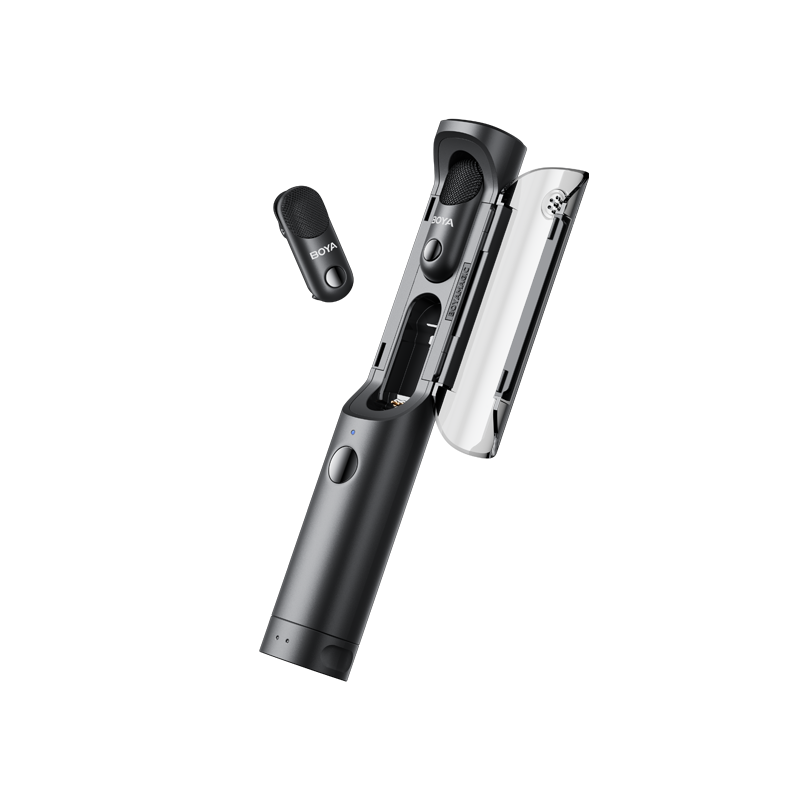
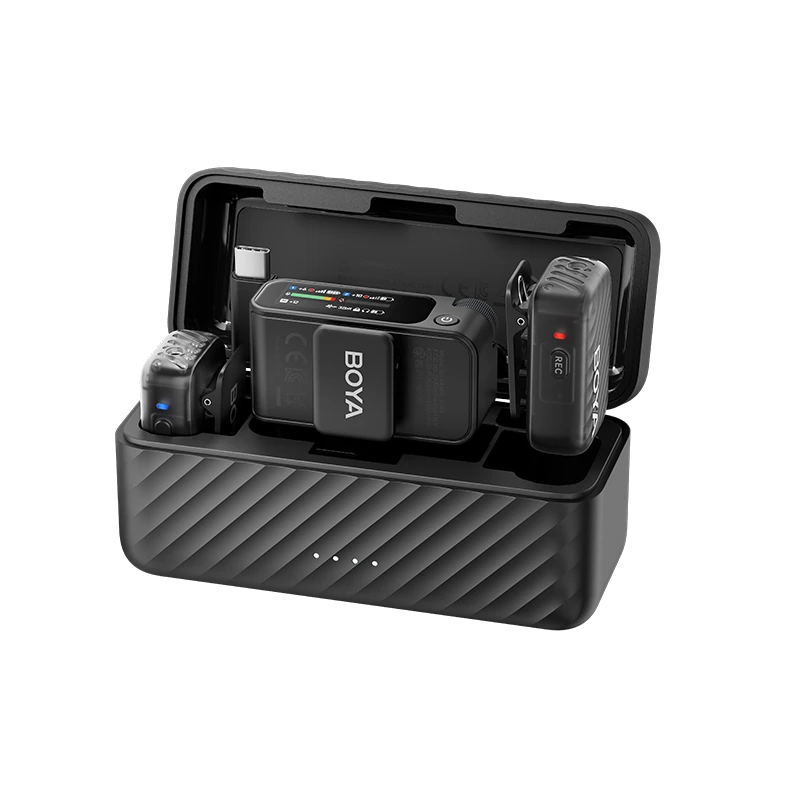
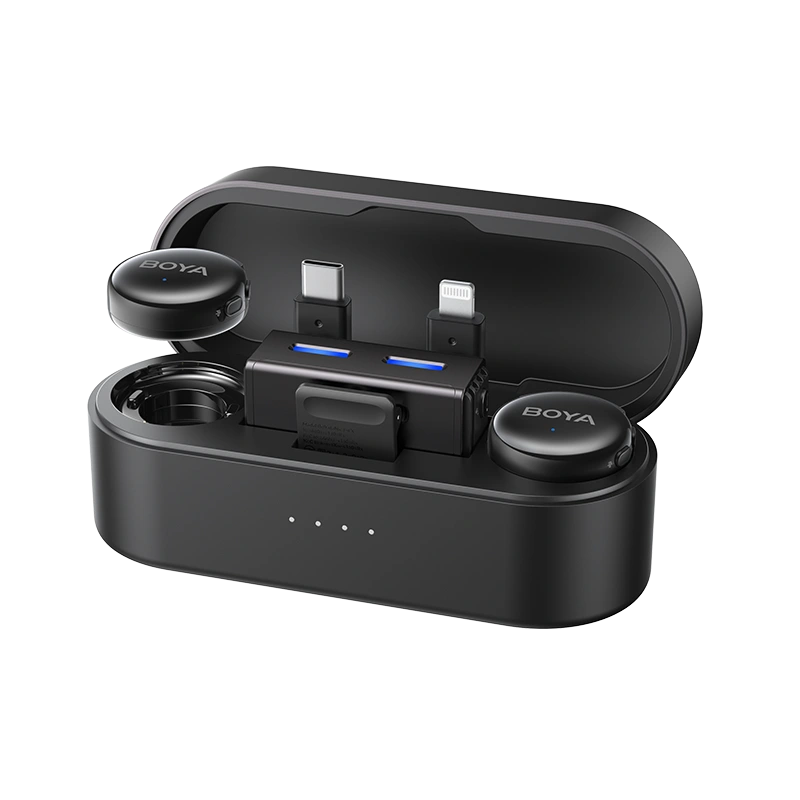
Products like BOYA mini 2, BOYAMIC 2, and BOYALINK 3 all offer both 75Hz and 150Hz Low Cut settings, easily switchable via the app or hardware controls to meet diverse professional demands. Use these settings:
- Base Setting (75Hz): Best for relatively quiet indoors and deep voices (ASMR, podcasts) where sound thickness is required. Primarily used to clean up handling noise and minor AC hum.
- Advanced Setting (150Hz): Best for outdoor vlogging, noisy environments, or strong proximity effect scenarios, aimed at maximizing vocal intelligibility and clarity.

Frequency Selection and Monitoring
- A/B Comparison Monitoring: Always record two audio samples (Low Cut ON and OFF) for comparison. The key is to perform a Loudness-Matched Playback. Loudness Matching Operation: Match the overall loudness of both clips to a similar LUFS level (or use rough volume matching with the level meter). Otherwise, the auditory illusion of "louder equals better" will mislead your judgment.
- Pairing Recommendation: If the microphone features both a Low Cut switch and AI Noise Reduction, it is best practice to engage the Low Cut first to remove physical low-frequency garbage, and then use the AI Noise Reduction to handle complex mid-high frequency hiss, resulting in the most natural sound.
Common Error Troubleshooting
| Symptom | Potential Cause | Correction Suggestion |
|---|---|---|
| Recording is still muddy/boomy | Front-end overloaded (Low Cut only done in DAW); Cut-off frequency too low (e.g., 75Hz). | Prioritize engaging Low Cut on the hardware; consider raising the cut-off frequency to 100–150Hz setting. |
| Voice sounds thin/lacks power | Cut-off frequency too high (e.g., 150Hz) or slope too steep (>18dB/oct). | Revert to the 75Hz setting or choose a gentler slope (e.g., 6dB/oct). |
| Increasing gain causes distortion | Low-frequency noise residue is consuming headroom. | Strictly follow the "Low Cut first, then Gain" principle. |
| Excessive outdoor wind noise | Low Cut cannot completely replace physical protection. | Add a physical windscreen/dead cat first, Low Cut is only supporting. |
| "P-pops" or plosives are present | Plosives are air blasts hitting the diaphragm, not just pure low frequency. | A pop filter/windscreen must be used; Low Cut can only partially alleviate the low-frequency energy caused by plosives. |
| A/B effect is unnoticeable | Playback volume is not loudness-matched. | Ensure the two recordings are compared at the same perceived volume. |
Gain Management Core: The "Filter First, Amplify Second"
- Pain Point Analysis: Why does low-frequency noise get so much louder when I push the microphone gain?
- Mechanism: Physical Low Cut occurs before the preamplifier circuit, making it the first stage in the signal chain.
- Maximizing Headroom: Low Cut removes the massive, unwanted low-frequency energy from environmental noise (e.g., AC hum) and the proximity effect. This allows the gain stage to safely amplify the desired vocal signal higher.
- Preventing Clipping and Distortion: Extreme low frequencies are a primary cause of high-gain input distortion. Engaging Low Cut, then adjusting gain is the most effective way to prevent low-frequency-induced distortion.
What is the different between Low Cut and Noise Reduction
Low Cut and Noise Reduction are the two most common methods for "cleaning" audio, but their underlying principles and positions in the signal chain are fundamentally different. Low Cut is physical filtering, while Noise Reduction is a digital algorithm. Understanding their core difference is crucial for proper pairing during recording and post-production to avoid cancellation or artifacts.
(For a deeper dive into the technology and real-world performance of AI-powered digital noise reduction, check out our companion guide: Does Your Microphone Really Have True AI Noise Cancellation?)
| Feature | Microphone Low Cut (HPF) | Noise Reduction (Digital / AI) |
|---|---|---|
| Operating Principle | Hardware/Circuit Filtering. Physically attenuates a specific frequency range. | Software Algorithm Analysis. Identifies the noise "fingerprint" and eliminates or phase-cancels it. |
| Target | Frequency Range (All sound below the set cut-off frequency, e.g., 75Hz/150Hz). | Sound Characteristics (Keyboard clicks, ambient floor hiss, mid-high frequency artifacts). |
| Application Timing | Before/During Recording (Pre-processing, essential at the front-end). | After/During Recording (Post-processing or real-time algorithm, optional add-on). |
| Sound Impact | Natural effect, preserves sound detail, no compression. | Prone to introducing "digital sound" or "underwater artifacts." |
| Pairing Priority Mantra | Filter First, Algorithm Second: Low Cut → Wind/Shock Protection → (Optional) AI Noise Reduction |
Conclusion
The Microphone Low Cut filter is the most cost-effective yet high-impact tool for improving audio quality. By engaging the Low Cut at the front-end (hardware), you not only remove useless low-frequency noise from the environment, but more importantly, you free up valuable dynamic headroom for your effective vocal signal, significantly preventing high-gain distortion. Remember the golden rule, "Low Cut First, Gain Second," and flexibly switch between 75Hz (for preserving thickness) and 150Hz (for aggressive cleaning) based on your scenario. Your recording quality will immediately achieve professional clarity.
To learn more about the latest news from BOYA, join in our official social media accounts: Facebook, Youtube, Instagram.
Frequently Asked Questions
What if my recording sounds thin after engaging Low Cut?
This indicates the cut-off frequency is likely too high (e.g., 150Hz setting), losing some fundamental vocal frequency. Try lowering the frequency to the 75Hz setting, or use EQ in your DAW to slightly boost energy around the vocal fundamental (120-150Hz).
Can I use Low Cut and AI Noise Reduction together?
A: Not only can you, but it's the optimal pairing. Low Cut handles physical low-frequency issues, while AI Noise Reduction tackles complex mid-to-high frequency hiss.
How do I use Gain and the Low Cut filter together?
A: Low Cut first, then Gain. The low cut cleans out the low-frequency noise floor, creating space (headroom) to safely amplify the desired signal without the low-end distortion.
Should I use Low Cut for Vlogging or outdoor video?
A: Highly recommended. Low Cut effectively suppresses wind noise and traffic rumble.
Should the Low Cut switch be engaged on the mic or on the mixer?
A: Prioritize the microphone (or audio interface). This protects the entire signal chain from low-frequency overload, yielding the best results.
My microphone doesn't have a Low Cut switch. What should I do?
A: Enable an HPF (High-Pass Filter) in your audio interface, mixer, or DAW plugin. If possible, enable it on hardware that is closer to the mic.
Should I choose 75Hz, 100Hz, or 150Hz?
A: Start with the lowest setting, 75Hz. If the environmental noise (rumble) is still prominent, move up to 100Hz or 150Hz. If the voice sounds "thin," immediately revert to the lowest setting.
Should I use Low Cut on an omnidirectional microphone?
A: Yes, it's still advised. Although omni mics have minimal proximity effect, if the environment has low-frequency rumble from AC or traffic, engaging the 75Hz setting Low Cut will still improve recording clarity.
What if I only have Low Cut in my DAW?
A: You can still use it, but you cannot recover potential low-frequency overload and distortion that may have occurred at the front-end during recording. It is recommended to keep your microphone input gain low, optimize mic distance/angle, and then apply the High-Pass Filter using an EQ plugin in your DAW.

