


Whether you're a podcaster, a musician, or a content creator just starting out, you've likely experienced that "heartbreak moment": a perfect recording that, on playback, sounds like a harsh, distorted mess—as if the audio was shredded. If so, you've probably encountered one of the most common enemies in audio production: digital clipping.
This isn't just a minor flaw; it's a "digital curse" that can ruin an entire project. But don't worry, by understanding it, you can defeat it. This article will dive deep into the truth about digital clipping and provide you with a set of professional, practical tips to avoid it.
What Is Digital Clipping and Why Is It So "Brutal"
Imagine you're pouring water into a glass. Your audio signal is the "water," and your recording device (like an audio interface or recorder) is the "glass." If you pour steadily, the water fits perfectly—that's a healthy recording. But if you suddenly turn the faucet on full blast, the water overflows. That overflow you can never get back is digital clipping.
In the world of audio, sound exists as a waveform. A healthy, dynamic sound wave is a smooth, flowing curve. But when clipping occurs, the top and bottom of the waveform get "chopped off," looking like a mountain range with its peaks sliced clean off. Those chopped-off parts are the loudest, most detailed parts of your sound. Once they're gone, they're gone forever.
Digital vs. Analog Clipping: A Tale of Brutality vs. Art
You might hear seasoned audio engineers say that some types of "clipping" sound good. They're talking about analog clipping. In old tube amplifiers or tape machines, signal overload creates a warm, pleasing harmonic distortion or saturation. This adds a rich texture that's often prized in rock and blues music, giving the sound a unique artistic flavor.
Digital clipping, however, is a completely different story. It's cold and unforgiving because it produces harsh, noisy non-harmonic distortion. The sound of digital clipping is unnatural and often described as a speaker-crackling, buzzing noise—it's not an artistic choice; it’s a problem to be avoided at all costs.
Why Does Your Audio "Peak"?
Knowing the dangers of clipping, let's identify the main culprits behind it.
- Gain Is Set Too High: This is the most common and easily overlooked cause. Gain amplifies the microphone's weak signal. Many beginners mistakenly think higher gain means better sound, but excessive gain is like turning the faucet to max before you even start pouring. Any small change can cause a sudden overflow.
- The Sound Source Is Too Close or Too Loud: Even with proper gain, a sudden loud sound can cause clipping. Think of a podcast guest bursting out in laughter, a singer hitting a high note in the chorus, or an instrument player strumming with too much force. These unexpected volume spikes can instantly overwhelm your headroom and cause the audio to clip.
- The Analog-to-Digital Converter (ADC) Is Overloaded: This is the core technical point where clipping happens. Your microphone's analog signal must be converted into a digital signal by a chip called the ADC. This converter has a strict upper limit, known as 0 dBFS (decibels full scale). Any signal that exceeds this limit is "brutally" chopped off, causing irreversible damage. This is a common issue with low-end audio interfaces or even smartphone recording apps.

How to Kill Clipping Like a Pro
The good news is that preventing clipping is much easier than fixing it. Follow these three steps to take control of your recordings.
Step 1: Set Your Gain Correctly—Leave Headroom
This is the golden rule of clipping prevention. Before you record, always do a sound check. Have yourself or your subject speak or perform at a normal—or even slightly louder—volume while observing the meters in your recording software.
Pro Tip: Keep your peak levels between -12 dBFS and -6 dBFS. This range provides headroom—a safe buffer zone that acts like the empty space at the top of your glass, allowing for unexpected volume spikes without the audio overflowing. To learn more about setting your gain correctly, check out our guide on How to Set Your Microphone Gain Correctly.
Step 2: Embrace the Future—32-Bit Float Recording
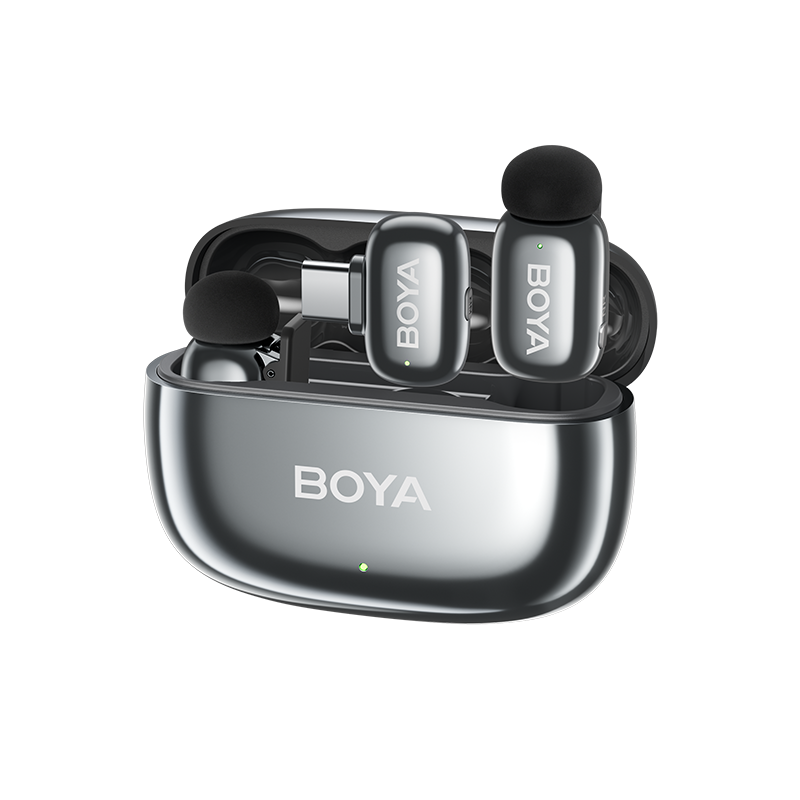
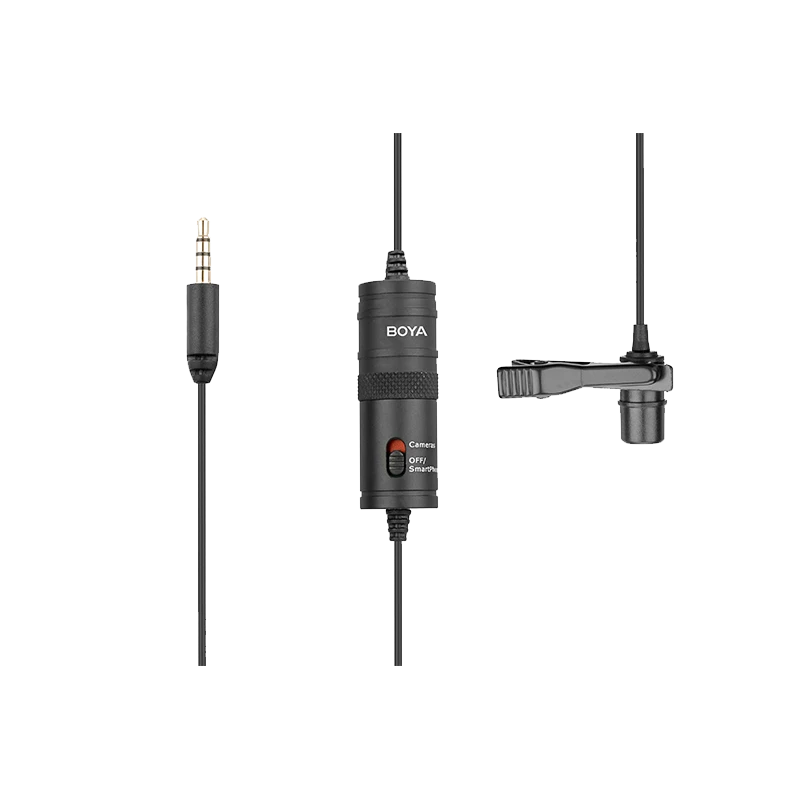
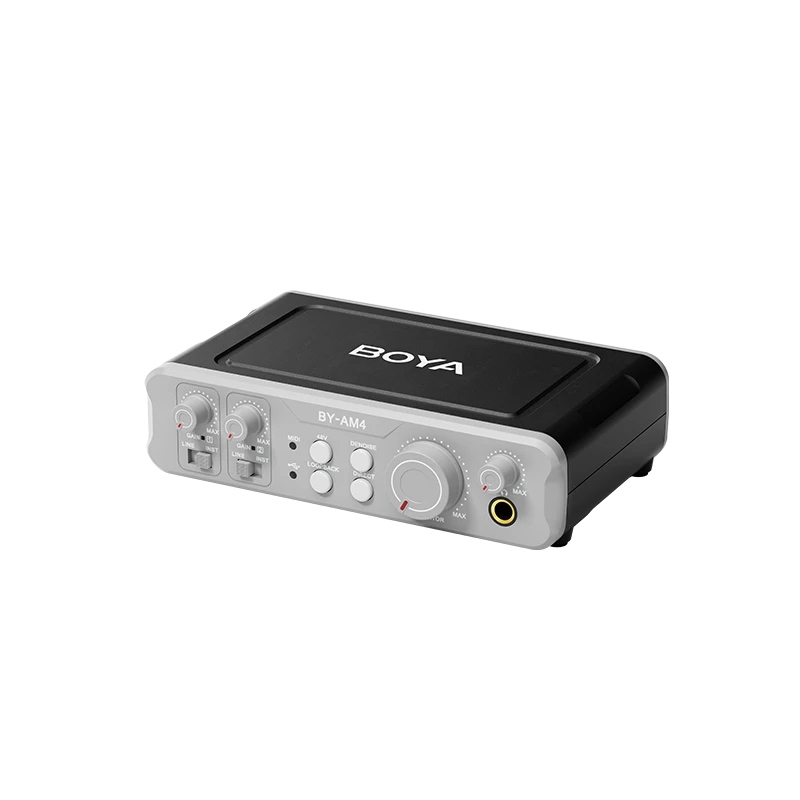
If setting gain is "driving carefully," then 32-bit float recording is putting full insurance on your audio. It’s the ultimate "get out of jail free card" for audio engineers. Traditional formats (like 16-bit or 24-bit) permanently lose data when they clip. A 32-bit float recording, however, has a nearly infinite dynamic range. This means that even if your recording appears to be peaking into the red, it hasn't actually clipped. In post-production, you can simply lower the volume, and all the "lost" detail will be perfectly and losslessy recovered. This feature is essential for unpredictable recording environments like solo vlogging, outdoor interviews, or capturing once-in-a-lifetime events. Our BOYAMIC 2 Wireless Microphone includes this feature, providing the ultimate peace of mind. To dive deeper into this game-changing technology, read our article What Is 32-Bit Float Recording.

Step 3: Use a Limiter as a "Safety Net"
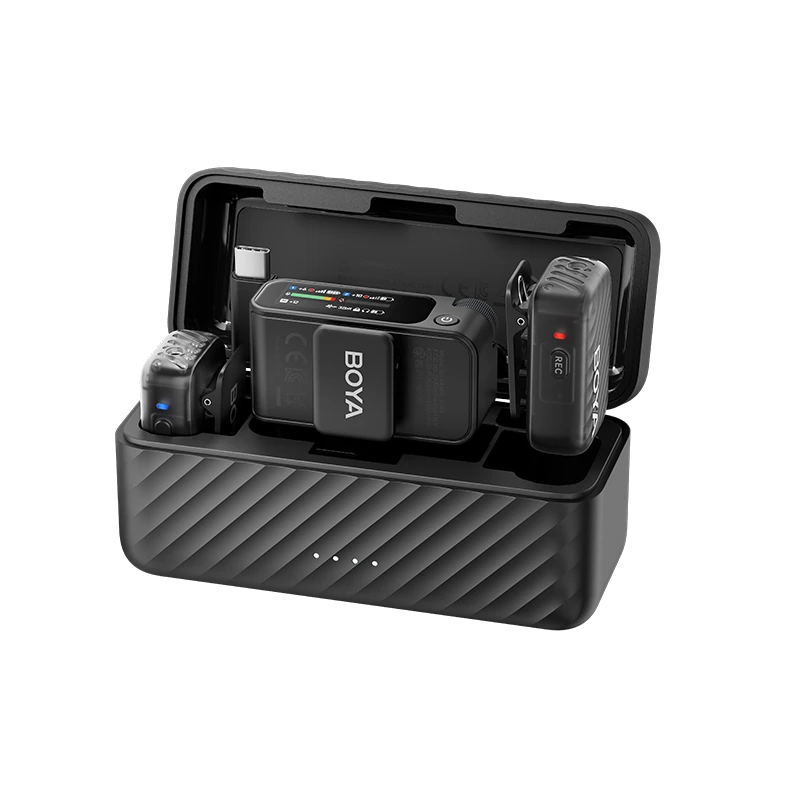
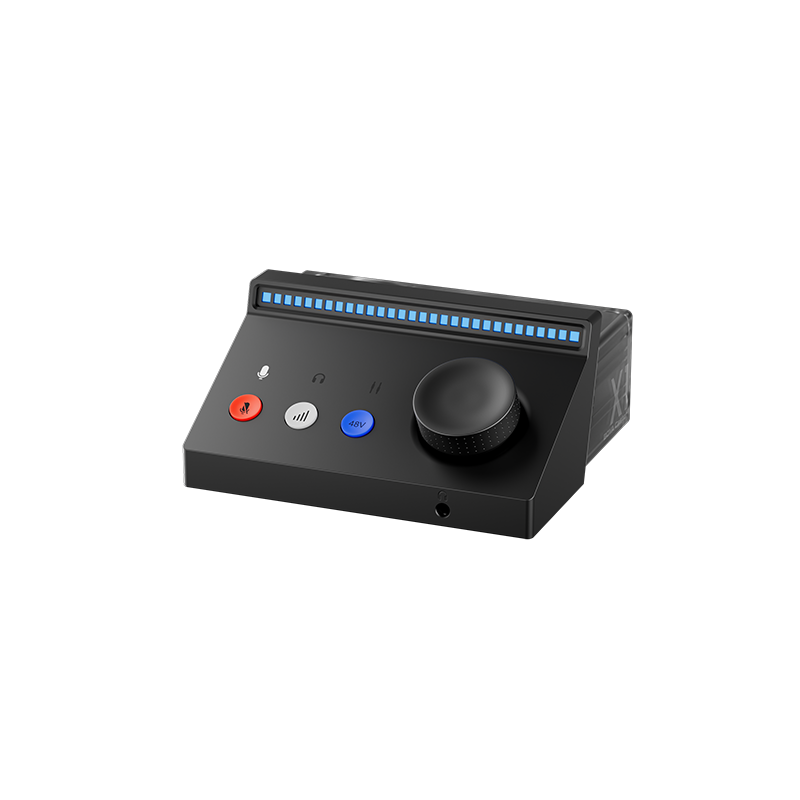
A limiter is an audio processor that acts like a lightning-fast "bouncer." You set a volume threshold (e.g., -1 dBFS), and it automatically and instantly brings down any signal that tries to exceed it. Devices like the BOYAMIC 2 or BOYA Magic come with a built-in limiter, serving as a last line of defense against extreme volume spikes. Additionally, some recorders offer a safety track feature, which records a second backup audio file at a lower gain. To learn more about this, check out our guide on What Is a Mic Safety Track.
Clipping's "Dual Nature" & The Limitations of Repair
The Art of Clipping
While we've focused on digital clipping as a villain, it's important to note that a controlled form of soft clipping or saturation from analog gear or quality plugins can be a creative tool in music production. It can add grit to a bass line or give vocals a warm, vintage character. The key is that this effect is deliberate and musical.
The Limits of Repair
Unfortunately, if a crucial recording has already been digitally clipped, can you save it? The answer is: maybe, but don't count on it. Digital clipping is a permanent loss of data. Any repair tool is just "guessing" and "reconstructing" the missing parts of the waveform. Professional audio repair software like iZotope RX has powerful De-clip plugins that can analyze the surrounding audio and attempt to redraw the clipped peaks. For very minor clipping, it can work wonders. But for severe clipping, the repaired audio will likely sound unnatural. Remember: repair is a last resort; rerecording is always the best solution.
Conclusion
Digital clipping is a subtle yet devastating enemy in audio production. But with the right knowledge and tools, you can avoid this "digital curse."
Our Action Plan for You:
- For New Podcasters/Streamers: Always remember to set your gain and keep peaks between -12 dBFS and -6 dBFS. If your budget allows, invest in a device with 32-bit float recording.
- For Musicians: Understand the stark difference between analog saturation and digital clipping. Embrace the former as a creative tool while avoiding the latter at all costs.
- For Video Creators: For outdoor shoots or any scenario where you can't monitor audio, 32-bit float recording is not an option; it's a necessity. It can save you from the nightmare of discovering ruined footage in post-production.
To learn more about the latest news from BOYA, join in our official social media accounts: Facebook, Youtube, Instagram.
Frequently Asked Questions
Can digital clipping happen when I record on my phone?
Yes, as long as your device has a microphone and an ADC, digital clipping can occur. Phone recording apps will clip if the gain is too high or the sound source is too loud. Maintaining a proper distance and volume is just as important.
My audio file is clipped, but when I lower the volume, the distortion is still there. Why?
This is because digital clipping is an irreversible loss of information. The waveform was permanently "chopped off" during recording. Lowering the volume only reduces the overall loudness, but it can't magically restore the missing parts of the waveform. This is why prevention is key.
Besides 32-bit float, are there other ways to completely avoid clipping?
32-bit float recording is the most fundamental prevention method. Other techniques are supplementary, such as using a hardware limiter or simply leaving sufficient headroom. However, even these methods cannot provide the absolute safeguard that 32-bit float offers.
My device meters show no clipping, but my audio is still distorted. Why?
This could be because your monitoring equipment (like headphones or speakers) is low-quality and has its own distortion. Alternatively, the microphone or preamp itself might be overloading, causing the clipping to happen earlier in the signal chain before it reaches your device's visual meters.
Stop tolerating harsh distortion and start delivering professional, high-quality audio in every project.