You’ve carefully edited your video, your recording meters never hit the red (no clipping), yet your video still sounds quieter than everyone else’s on the platform(like Youtube & TikTok). That’s because platforms don’t care about peaks (dBFS). They care about perceived loudness (LUFS), and they will turn you down or boost your noise to fit their target. For this, we will show you how to set the three gain stages of any wireless mic so your raw file hits the correct LUFS sweet spot on the first take, no loudness plugin required.
Understanding Platform LUFS Standards and dBFS Correlation
Platforms like YouTube, TikTok, and Spotify utilize Loudness Normalization to automatically adjust your audio. If your recording level is too low, floor noise is amplified. If it’s too high, your dynamic range is compressed.
The solution is to set your raw recording average level (measured in dBFS) within the recommended "sweet spot" based on your content type:
| Platform / Content Type | Target Integrated LUFS (I-LUFS) | Recommended Raw Recording Average Level (dBFS) | True Peak (dBTP) Limit | Strategy and Practical Experience |
|---|---|---|---|---|
| YouTube / Vimeo / Streaming | ≈ -14 LUFS | -12 ~ -8 dBFS | ≤ -1.0 dBTP | Standardized by platforms. This range safely hits the target. |
| TikTok / Reels | ≈ -13 LUFS (-12.5 to -13.5) | -10 ~ -6 dBFS | ≤ -1.0 dBTP | Short-form content is louder. Aim for this average to be competitive. |
| Podcast / Dialogue | ≈ -16 LUFS | -18 ~ -12 dBFS | ≤ -1.0 dBTP | Prioritizes long-term listening comfort and dynamic range. |
Practical Wireless Microphone Gain Setting
To achieve the "perfect loudness" target, you must align the gain settings at three critical points in your wireless microphone system.
Step 1: Transmitter Gain (TX Gain) — Maximize Signal-to-Noise Ratio
This is the first amplification stage in the wireless system.
- Goal: Ensure the highest Signal-to-Noise Ratio (SNR) for the cleanest signal. If TX gain is too low, the receiver will amplify the faint signal along with the noise floor. If you want to dive deeper into how to set microphone gain correctly, check out our guide.
- Key Operation:
- Speak at your loudest volume typical for your content.
- Slowly increase the TX gain until the level indicator just occasionally touches red or enters the red zone during the loudest peaks.
- Immediately back off 1 ~ 2 dB to ensure no sudden sounds cause hard clipping.
- Principle: Clipping at the transmitter is irreversible. Better slightly lower than too high.
Step 2: Recording Device Gain (Camera/Phone Gain) — Minimize System Noise
This is the second amplification stage as the signal enters your recording device.
- Goal: Minimize or bypass the recording device's often low-quality internal preamplifier.
- Key Operation:
- Crucially: Find and disable Automatic Gain Control (AGC).
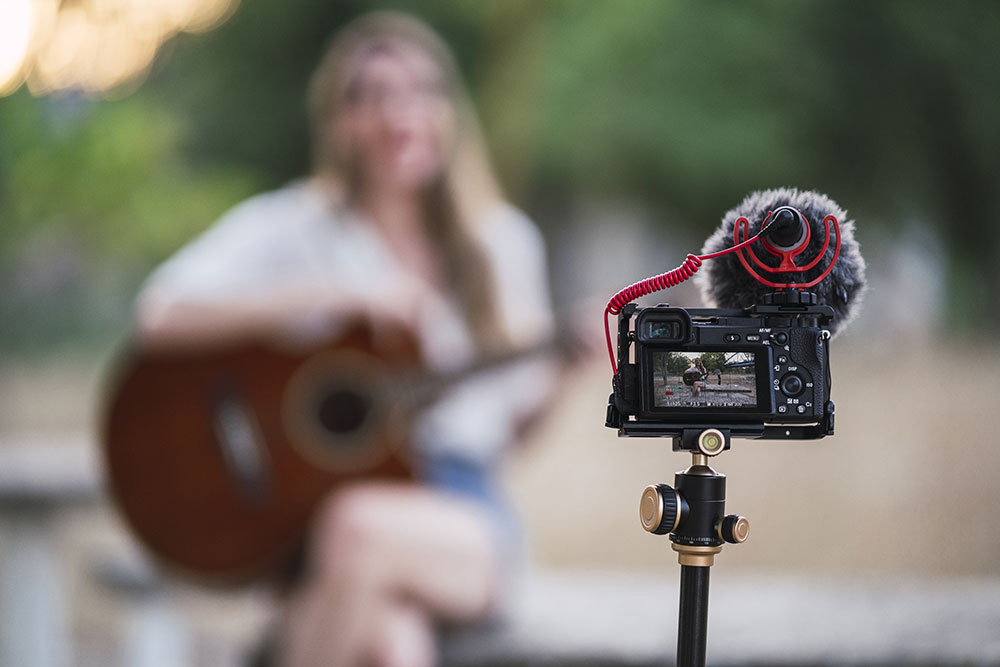
- Manually set your camera's or phone's audio input volume/gain to the lowest manual setting (often "1" or 0 dB).
- Pro Tip: If your receiver supports Line Level output, be sure to switch the receiver's output to Line Mode. This further reduces noise by sending a stronger signal to the device's input.
Step 3: Receiver Output Gain (RX Gain) — Precisely Match Target Loudness
This is the final, most critical knob—the "master volume" that determines your final raw file loudness.
- Goal: Set the final level to align with the target LUFS / dBFS range.
- Key Operation:
- Adjust the RX gain while watching the camera's/phone's level meter.
- Adjust RX gain so your average speech level falls within the target dBFS range (e.g., -12 dBFS ~ -8 dBFS for YouTube).
- Ensure your absolute peak never exceeds -3 dBFS to leave sufficient Headroom for True Peak control. If your recording unfortunately clipped, you may need to learn how to fix digital clipping distortion.
Utilizing Built-in Features for "Zero Post-Production"
1. Safety Track Recording
- How it Works: Many systems record two tracks. The Main Track is optimized, while the Safety Track is automatically recorded at a fixed -6 dB or -12 dB lower gain. To understand what is a mic safety track and its benefits, refer to our specialized article.
- Value: If a sudden loud sound clips the Main Track, the Safety Track remains clean and usable.
2. Transmitter Hardware Pad / Limiter
- Pad (Attenuator): Reduces the signal level by a fixed amount (-10 dB) before it hits the TX amplifier. Essential for high SPL environments.
- Limiter: A dynamic processor that caps the signal peak to prevent violations. Pro Tip: While platforms require ≤ -1.0 dBTP, many audio engineers recommend keeping your recording peaks below -2 dBTP or -3 dBTP, as compression and encoding can sometimes add 0.5 dB to 1 dB of True Peak level during export.

Conclusion
Professional audio quality comes from precise front-end settings, not complex software. By mastering the "Three-Stage" gain strategy, you complete 80% of your loudness optimization before you even hit record. Want a wireless mic that makes this process even easier? Check out our wireless microphones list.
To learn more about the latest news from BOYA, join in our official social media accounts: Facebook, Youtube, Instagram.
Frequently Asked Questions
If I record on my phone without an external mic, do I still need to worry about dBFS and LUFS?
Yes. Even with a phone's internal mic, input gain is crucial. Ensure your recording is non-clipping and has sufficient Headroom, making it easier to achieve the target LUFS later.
My content is for short-form platforms (like TikTok, Instagram Reels). What LUFS target should I aim for?
Aim for ≈ -13 LUFS and use the dBFS range -10 dBFS ~ -6 dBFS from the table for competitive loudness.
If my recording peaks are very low (e.g., -20 dBFS) but the sound is natural, can I just boost the gain in post-production?
Yes – but you’re screwing yourself. Every dB you boost in post is another dB of noise and hiss. Record at the right level from the start.
Why does my video still get turned down by the platform, even if my LUFS is on target?
The most likely reason is your True Peak (dBTP) exceeded the platform's limit (≤ -1.0 dBTP). Platforms strictly check True Peak alongside LUFS and will limit or turn down the audio if the True Peak is too high.
Does setting the gain with dBFS automatically achieve the LUFS target?
Not exactly. dBFS is an instantaneous level metric for controlling peaks. LUFS is an average loudness metric. Good dBFS setting is the prerequisite and foundation for hitting the LUFS target, but you must still measure LUFS and True Peak in the final output.

