






💡 Key Takeaways
- Placement still matters: Keep your wireless mic secure, close to your voice, and clear of clothing, hair, and jewelry.
- Plan narration around the space: Choose suitable speaking positions in reflective rooms and use voiceover for detail shots when needed.
- Match noise cancellation to the environment: Use it to reduce distracting background sound, without expecting it to eliminate room reverberation.
- Test before the full tour: Record and replay a short clip that includes walking, gestures, and room transitions.
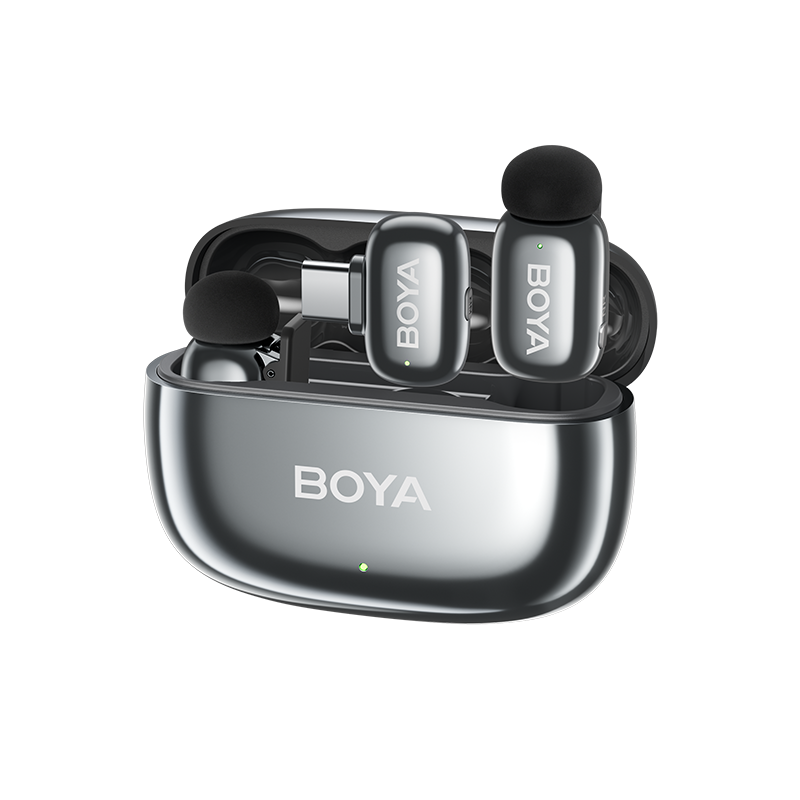
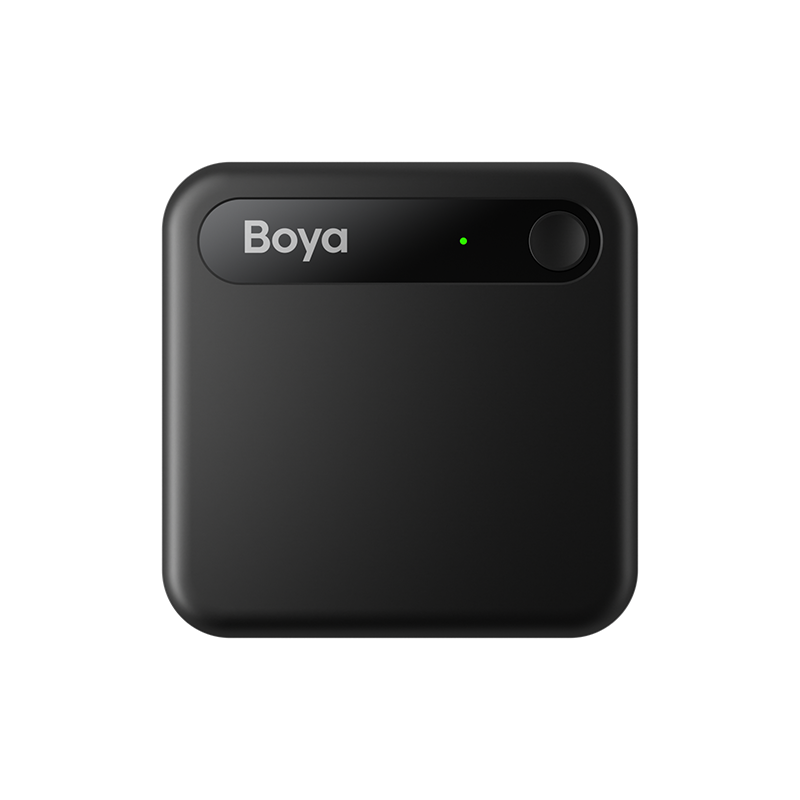
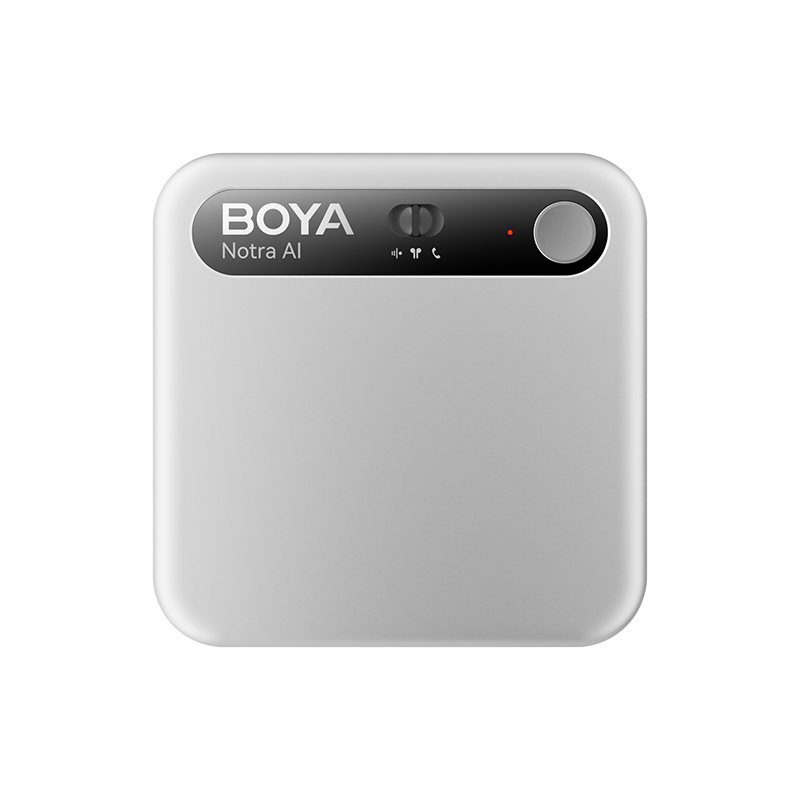
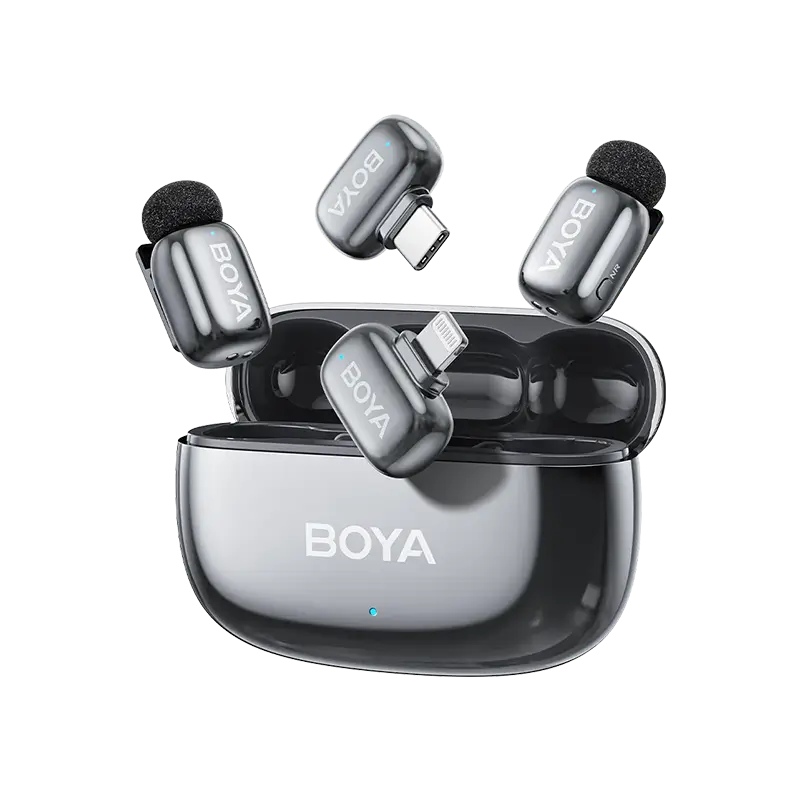
- Choose gear for your daily workflow: BOYA mini 2 offers lightweight wear, adjustable AI noise cancellation, and charging-case convenience for smartphone property videos.
You have your wireless microphone clipped on, your phone framed, and your property tour ready to go. But when you play back the footage, the empty living room sounds hollow. Your voice changes as you enter the kitchen. Turning to point out the windows adds a scratchy rustle to an otherwise usable take.
A wireless mic keeps the microphone close while you move, but clear audio still depends on where you wear it, the space around you, and how you record. For real estate agents and property video creators, a few practical adjustments can make walkthrough narration easier to follow and reduce the number of takes you need to repeat.
Identify What Is Making Your Audio Unclear
Before changing settings, identify what you hear. Different audio problems need different solutions.
| What you hear | What to check first |
|---|---|
| A hollow voice with a lingering tail after words | Room reflections and microphone distance |
| A steady hum or traffic beneath speech | Background noise sources |
| Scratching when you walk or turn | Clothing, hair, or jewelry touching the microphone |
| Sudden missing words or brief silence | Wireless connection and recording-device input |
| A muffled voice | Fabric covering the microphone opening |
Empty properties can be particularly challenging because they have fewer soft furnishings to absorb sound. Speech reflects off hard surfaces, reaching the microphone alongside your direct voice. What creators often call “echo” is frequently this buildup of reverberation.
Keeping the microphone close helps your voice stand out relative to those reflections. Turning up the recording gain, however, makes both the captured voice and room sound louder.
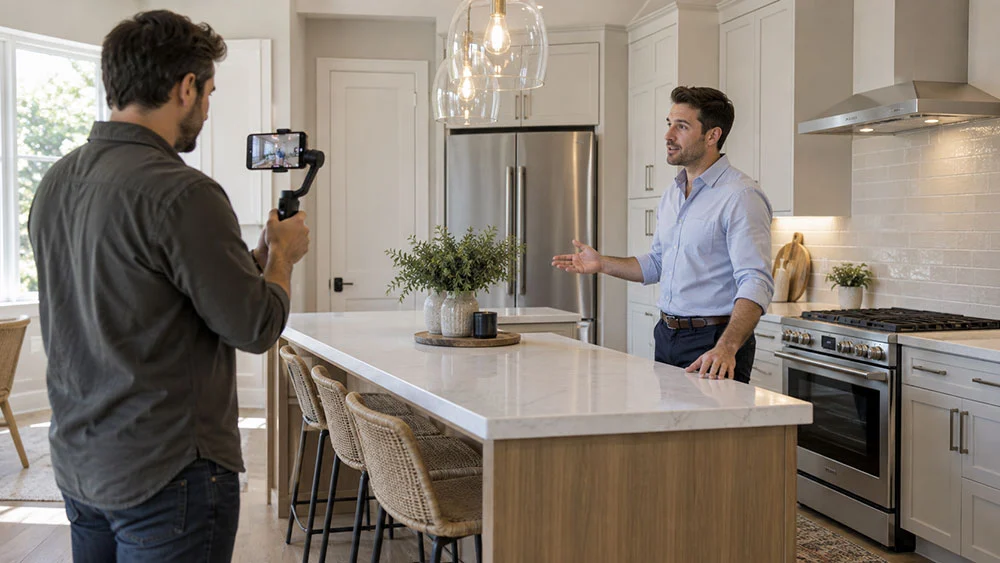
Keep the Microphone Secure and Clear of Clothing
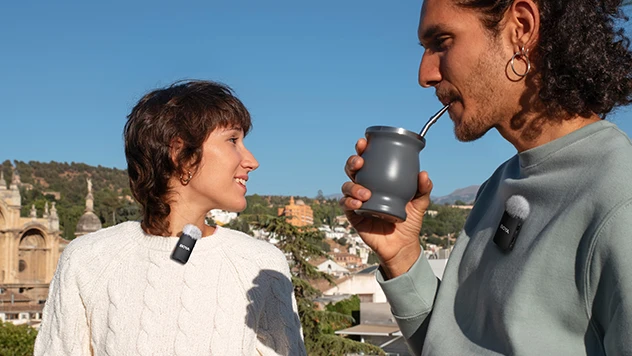
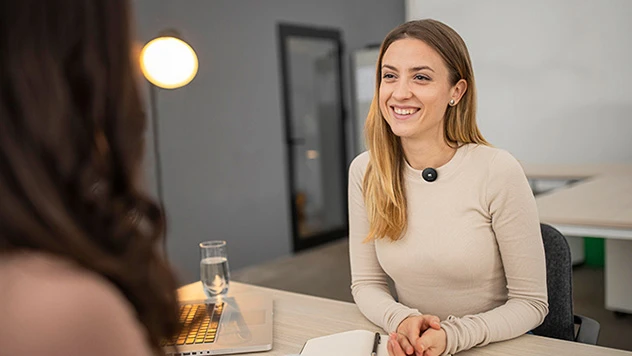
Start with a secure position on your upper chest, keeping the microphone opening exposed. Follow your microphone’s placement guidance and make sure the clip holds the fabric firmly without letting the mic swing.
Pay attention to what surrounds it. A loose collar can brush against the microphone, a necklace may tap its housing, and long hair can move across it when you turn. Position the mic away from these contact points rather than relying on noise processing to remove the resulting sounds.
Avoid hiding the microphone beneath fabric simply to make it less visible. For a property tour, a small, exposed microphone is usually more practical than a concealed placement that produces muffled speech or friction noise.
Keep the position consistent across takes. If you remove a jacket or adjust your shirt between rooms, check the placement again before continuing.
Plan Your Narration Around the Rooms
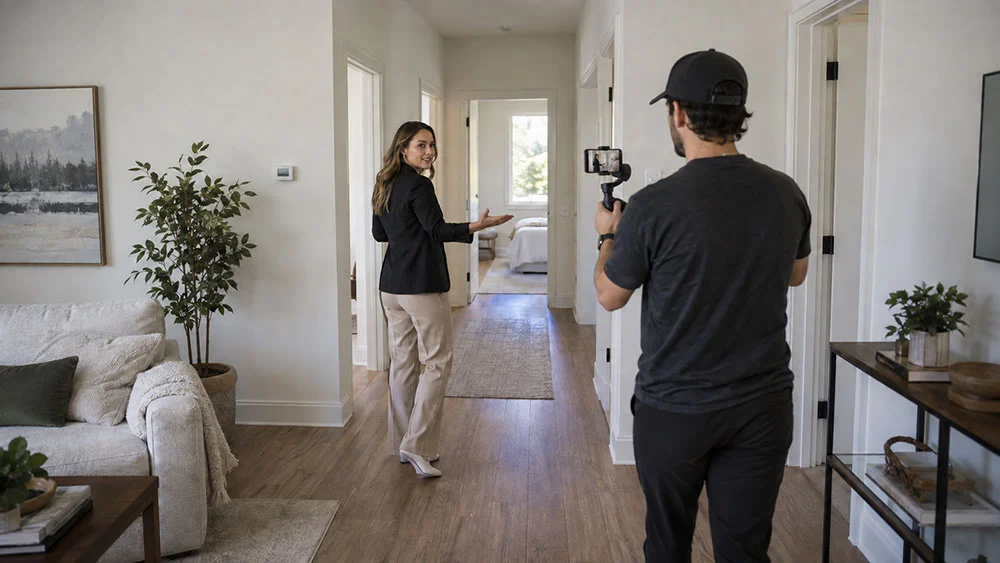
A furnished bedroom, an empty kitchen, and a narrow hallway can give the same voice noticeably different sound. Plan where you will deliver each explanation as deliberately as you plan your camera angles.
Choose a Presentation Spot in Empty Living Rooms
Compare a short spoken line from two or three positions before choosing where to deliver the main introduction. If the property has curtains, rugs, or upholstered furniture, include a position near those furnishings in your comparison.
Choose the location that balances clear speech with a useful view of the property. You can capture wider shots separately, so your main explanation does not have to come from the most visually dramatic corner.
Use Short Explanations in Kitchens and Hallways
In reflective spaces, keep live explanations focused. Introduce the kitchen from a suitable position, then film the worktops, appliances, and storage as separate detail shots.
Those shots can carry narration recorded afterward in a quieter, less reflective space. This gives the camera time to show each feature without forcing you to speak while bending, reaching, or moving between rooms.
Prepare for Balconies and Outdoor Areas
Wind and road noise introduce different challenges when a tour moves outside. Use suitable physical wind protection and consider a sheltered speaking position before introducing the terrace or garden.
For properties with extensive outdoor areas, our guide to recording with wireless microphones in windy outdoor conditions explains how to prepare for wind and movement.
Why Consider BOYA mini 2 for Everyday Property Videos?
For agents filming regular smartphone walkthroughs, BOYA mini 2 combines compact hardware with useful audio controls.
Lightweight for On-Camera Presentations
The approximately 5g transmitter is easy to carry and visually discreet while you walk and present.
Adjustable AI Noise Cancellation
Background conditions vary between properties, from air-conditioning hum to traffic through an open window. BOYA mini 2 offers Light and Strong AI noise-cancellation modes, giving you options when those sounds compete with your narration. Compare a short recording in each mode and choose the one that keeps speech clear and natural. For hollow-sounding rooms, focus on microphone placement and speaking position rather than expecting noise cancellation to remove reverberation.
Audio Specifications for Video Work
The system supports 48 kHz / 24-bit audio. Combine that capability with careful placement and appropriate recording levels to capture usable narration.
Charging Between Properties
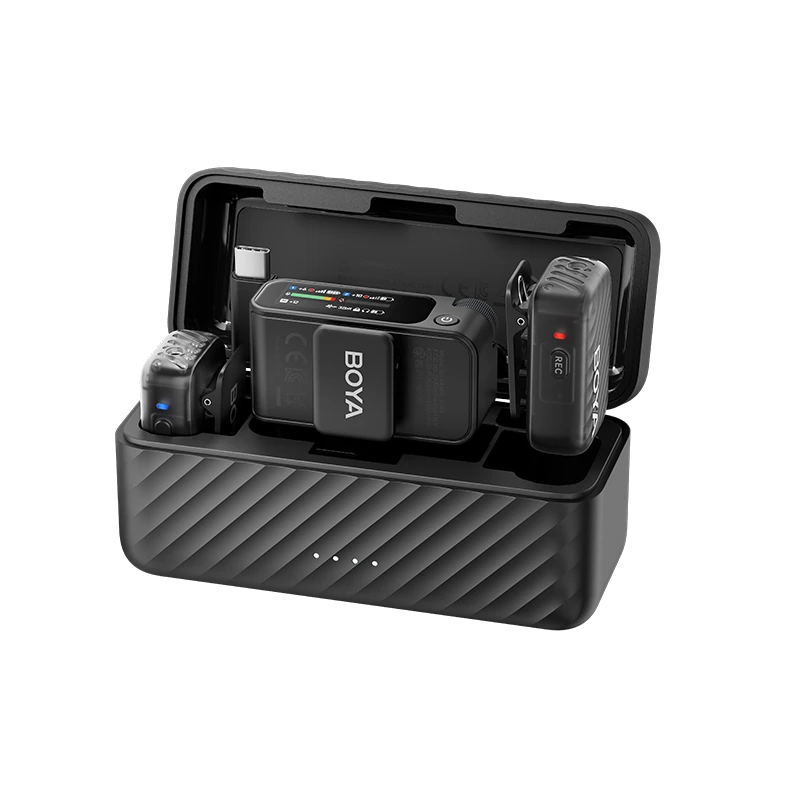
Each transmitter offers up to six hours per charge, with up to 30 hours of total runtime using the charging case. The total includes recharging, not 30 hours of continuous recording. Actual runtime varies with use.
Choose a kit with the receiver connector and charging accessories you need, and confirm compatibility with your phone and recording app.
Record a 30-Second Test Before the Full Tour
A brief test is easier to repeat than an entire walkthrough. Make it part of your routine at every property.
- Confirm the input. Check that your recording app is receiving audio from the wireless microphone.
- Speak normally. Deliver a sample introduction at the volume you will use during the tour.
- Move naturally. Walk, turn your head, and gesture as you would while presenting.
- Include a transition. Pass through a doorway or around a corner, with the recording device in its intended position.
- Play it back. Use headphones where possible to check for friction noise, distortion, missing words, and distracting room sound.
- Check recording readiness. Confirm battery levels, available phone storage, and the chosen noise-cancellation setting.
Thirty seconds is a starting point. For a longer route, test the sections most likely to cause problems. A successful recording in one room does not confirm reliable reception through several walls.
If the test reveals missing words or intermittent silence, our guide to wireless microphone dropouts and how to fix them can help you investigate.
Conclusion
Clear audio helps viewers follow a property tour as it moves from room to room. Even with a wireless microphone, the result depends on secure placement, thoughtful narration positions, and settings suited to the location.
Build these checks into your filming routine: keep the mic clear of clothing, choose a tested spot for important explanations, and use voiceover where live narration is difficult to capture cleanly. Before filming the full tour, listen to a short recording that includes your planned movements and room transitions.
For agents creating regular smartphone walkthroughs, BOYA mini 2 is worth considering for its lightweight design, adjustable AI noise cancellation, and charging-case convenience. Combined with a consistent recording routine, it makes a practical addition to an everyday property video kit.
Frequently Asked Questions
Can a Wireless Lavalier Mic Eliminate Echo in an Empty Property?
Close placement can make direct speech more prominent relative to room reflections, but it cannot completely eliminate reverberation. Test your position and consider recording some narration separately when the room remains too reflective.
Should Noise Cancellation Stay On Throughout the Tour?
Choose it based on a listening test. A setting that helps beside a busy road may be unnecessary in a quiet bedroom. Recheck the sound when conditions change substantially, and avoid switching settings midway through a spoken sentence.
Is Live Narration Better Than Recording a Voiceover?
Both can work within the same video. Live narration suits introductions and on-camera demonstrations. Voiceover is useful for detail shots and rooms where clean live speech is difficult to capture. Combining them gives you more flexibility over pacing and sound.
What if Two People Are Presenting the Property?
Plan for both voices. A compatible system with a microphone for each presenter helps maintain close placement when they stand apart. Before filming, check how the recording device stores those voices and whether you need separate channels for editing.