


Many creators obsess over cameras, color grading, and fancy transitions—but forget the most critical element: audio. If your VLOG is plagued by wind noise, echoes, or muffled vocals, viewers will bail immediately.
The good news? You don't need expensive studio equipment. By mastering this "Gear Selection + Golden Practice" methodology and using modern consumer microphones, you can achieve excellent audio quality right from your phone!
Part 1: Ditch the Built-In Mic — Choosing the Right Vlog Microphone
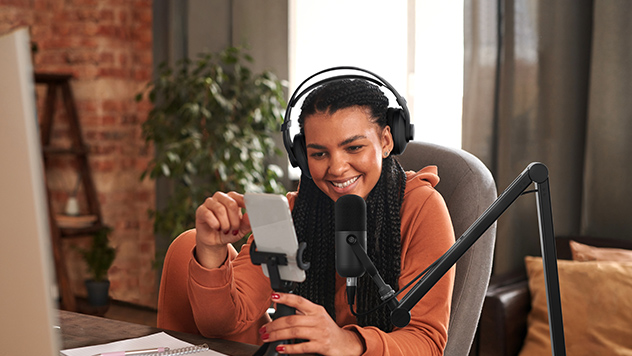
Your phone's built-in microphone is designed for calls—short distance, weak directionality, and zero effective noise control. For dynamic Vlogging, an external microphone is an absolute necessity for professional sound.
You’ll mainly find two types of external phone microphones:
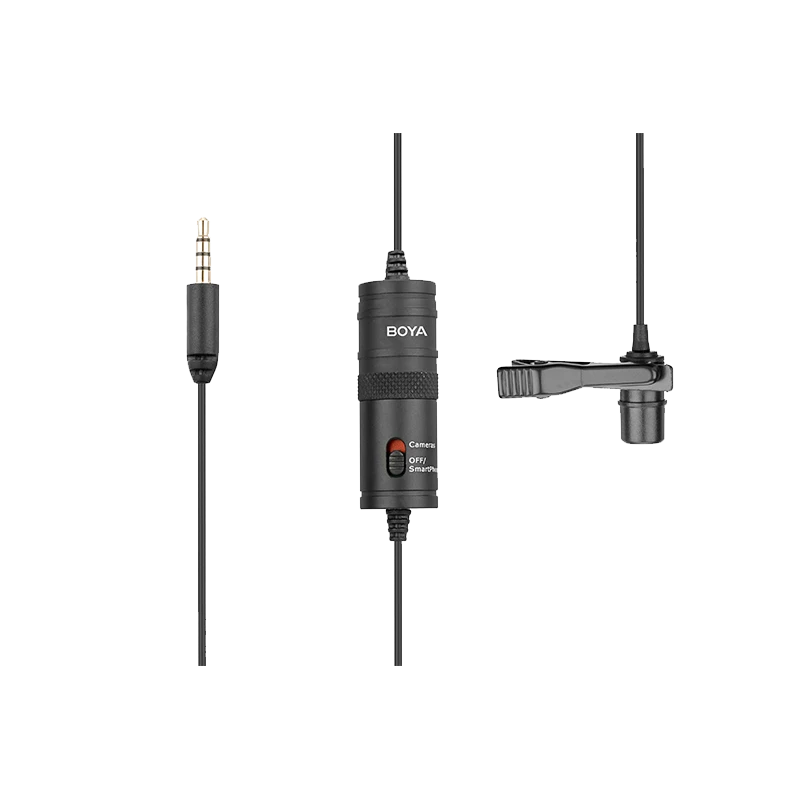
The Lavalier Mic: The Most Reliable Solution for Close Talk (Wired)
- What It Solves: It fundamentally eliminates the issue of distant and weak vocals. Its wired connection ensures rock-solid stability, making it far more reliable than most wireless setups.
- Best For: Indoor interviews, fixed-position tutorials, and budget-conscious beginners.
- Buying Tip: Wired lav mics (like the classic BOYA BY-M1 series) offer stable audio and high value. Just confirm the connector (Lightning/Type-C) matches your phone.
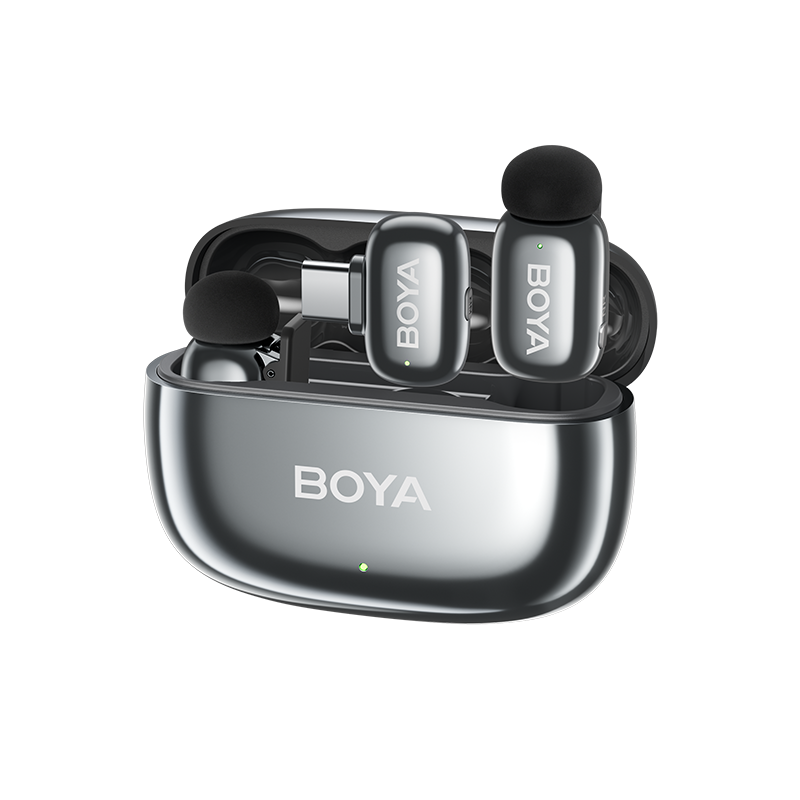
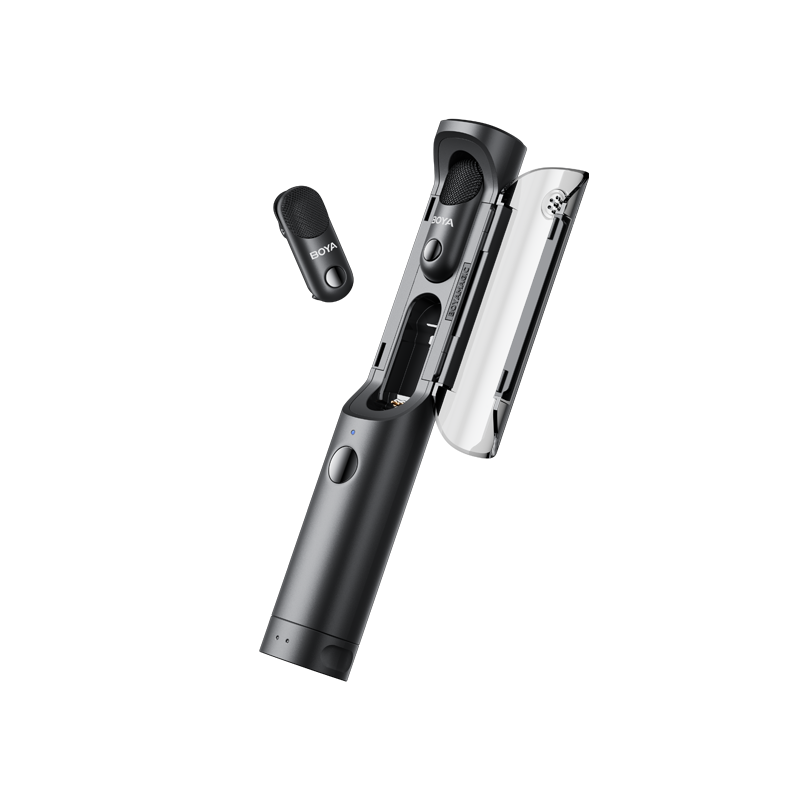
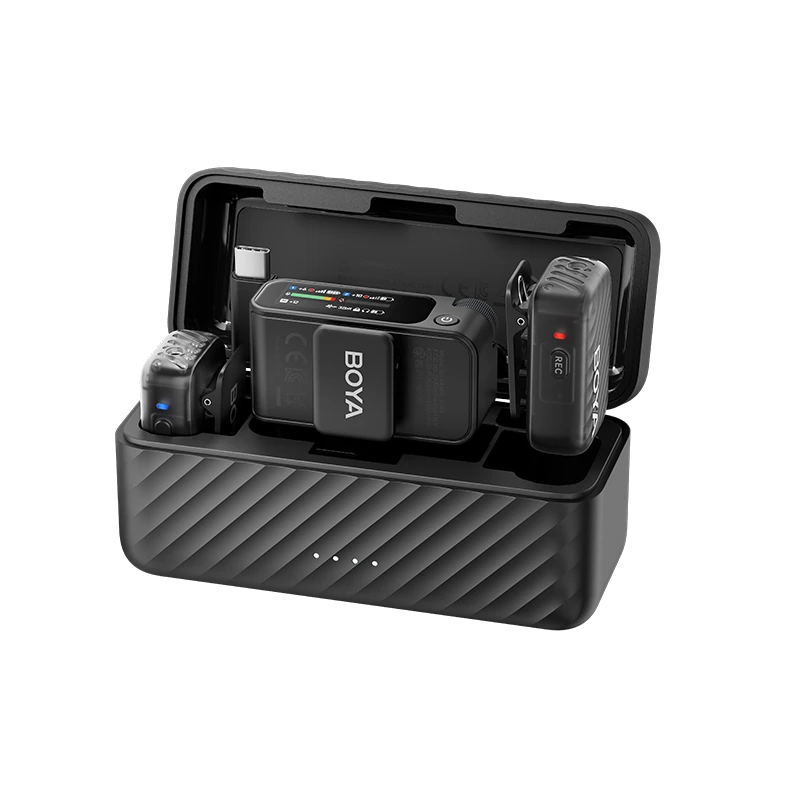
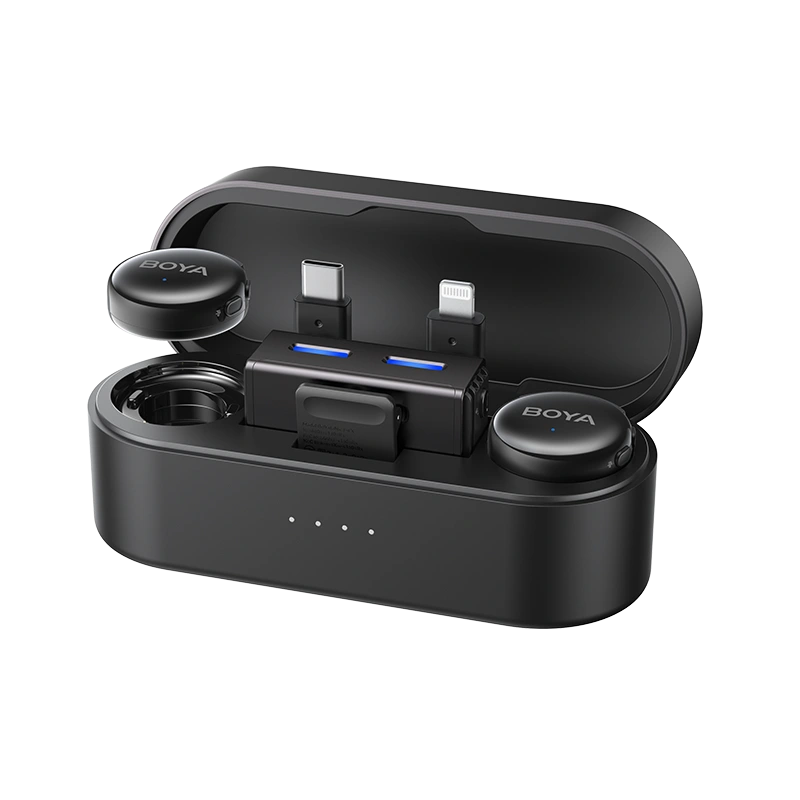
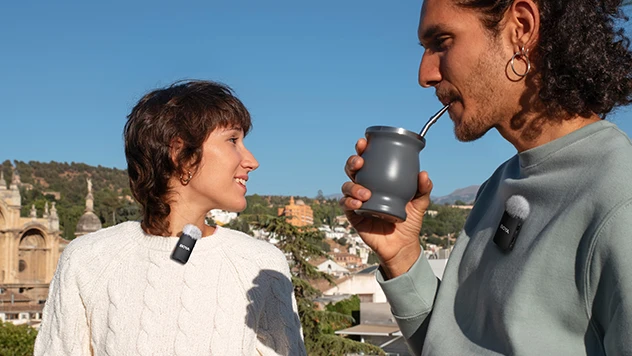
Wireless Systems: Freedom and Stealth for the Mobile Vlogger
- What It Solves: Complete freedom of movement! It enables long-distance, multi-scene, high-quality audio capture.
- Best For: Outdoor VLOGs, run-and-gun shooting, interviews, and any content requiring movement.
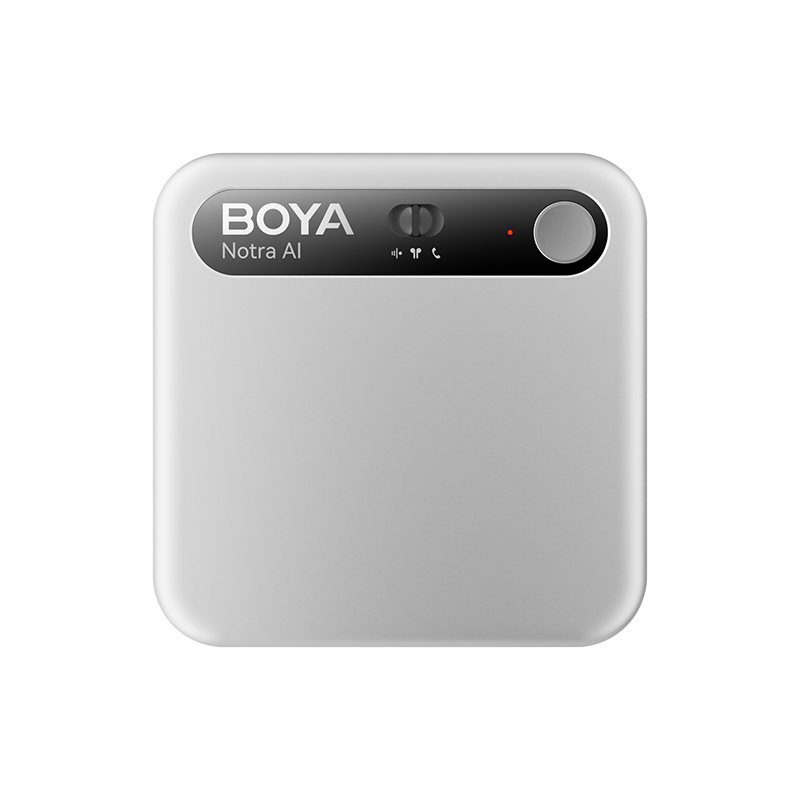
- Key Advantage: Modern systems (like BOYA mini 2 or BOYA Magic) are incredibly small and lightweight. This ensures stealth and flexibility, making the microphone virtually invisible on camera.
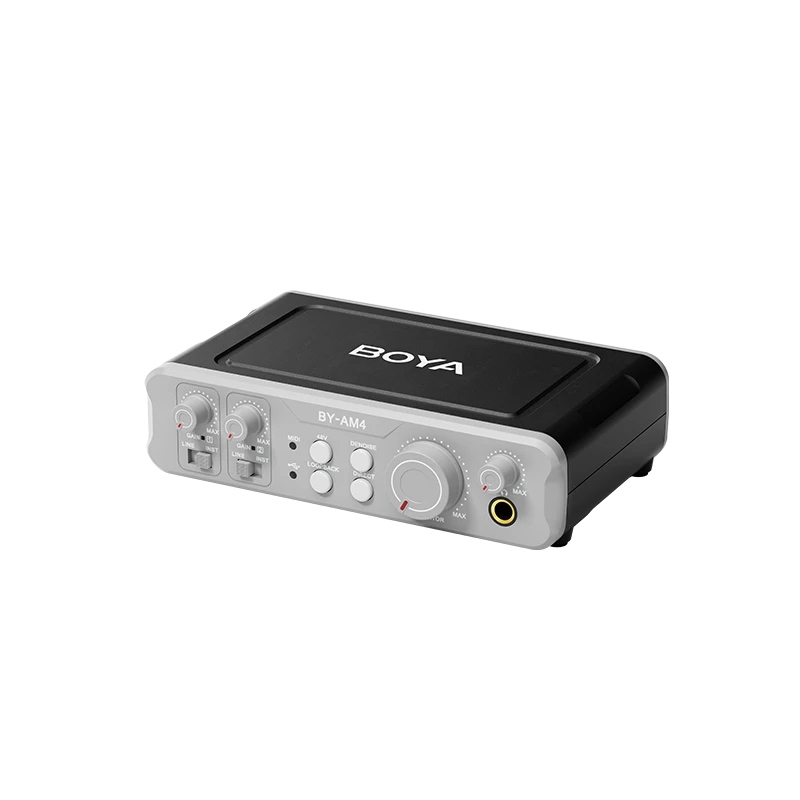
- Buying Tip: Look for essentials like built-in AI noise cancellation capabilities, long battery life, a high Maximum Sound Pressure Level (Max SPL), which determines how loud the sound source can be before the mic distorts, and Multi-Interface Adapters to cover Lightning, Type-C, and 3.5mm cameras.
Pro Tip: Most serious Vloggers eventually upgrade to a wireless mic system because it solves the five most critical needs at once: freedom of movement, dual-person recording, stealth, portability, and instant noise reduction.
Part 2: Golden Practice — Mastering Your Microphone Settings
Choosing the right gear is just the start. The real difference in audio quality is made before you hit record.
The "Golden Position" Rule (The Costly Lesson Section)
Mic placement dictates almost 50% of your final sound quality.
- The 15-20cm Rule: Place the mic head centered on your chest, 15~20cm from your mouth. This balance maximizes vocal clarity while preserving chest resonance for a rich sound.
- Avoid Friction: The mic head must be exposed! I once filmed a street VLOG with my lavalier mic clipped inside my jacket—10 minutes of footage was ruined by static fabric noise. Ensure the mic capsule points up and stays clear of zippers, necklaces, or thick collars.
- Software Prep: Turn off all app notifications before recording to prevent beeps and dings from destroying your take.
The Core Skill: Mic Gain Control (The Lifeline Against Clipping)
Gain is the microphone's sensitivity. If it’s too low, your voice is too quiet; if it’s too high, your audio will experience distortion / hard clipping, which cannot be fixed in post-production!
- Safety Zone: Your vocal peaks must stay within the professional safety range of -12dB to -6dB. NEVER enter the red zone! If the level meter hits 0dB, stop and lower the gain immediately. To understand how to correctly set microphone gain, check out this comprehensive guide.
- Advanced Insurance: Use the Safety Track feature. This records a lower-gain backup track (usually around -12dB) simultaneously. If your main audio clips during a sudden laugh or shout, you can replace it with the safe track. Learn about what a mic safety track is and how it works.
Contextual Noise Control: Use the Right Tool for the Job
AI Noise Cancellation is powerful, but you must use the right tool for the specific type of noise.
- AI Noise Cancellation: The mic’s AI Noise Cancellation (usually strong/weak modes) is effective for complex noise like crowds, traffic, or keyboard clicking. Just make sure your mic uses real AI processing—cheap digital noise reduction can easily degrade your voice. You can find out if your mic has true AI noise cancellation by checking this article.
- Wind Noise (Low Frequency): For wind, always use Low Cut first! Wind noise is low-frequency rumble; enabling the mic’s Low Cut function (High Pass Filter) removes the noise with minimal impact on your voice. For a deep dive into low cut function in microphones, click here.
| Scenario | Noise Type | Recommended Treatment | Practical Action |
|---|---|---|---|
| Outdoor / Windy | Wind, Airflow (Low-Frequency Rumble) | Physical Windshield + Low Cut Function | ① Attach the furry windshield ② Enable the Low Cut switch on your mic. |
| Busy Outdoor | Crowds, Car Traffic | AI Noise Cancellation | Turn on the mic's Noise Cancellation mode. |
| Indoors | AC Hum, Fan Noise (Stable Hum) | AI Noise Cancellation | Enable NC and use the lower setting to avoid making vocals sound "hollow." |

Part 3: Simple Post-Production
A little polish ensures your audio is ready for the world.
- Loudness Normalization:
- Goal: Ensure all clips have a consistent volume, preventing viewer fatigue.
- Action: Use your editing software’s volume matching or normalize your vocals to the common online video loudness standard of -16 LUFS.
- Background Music Control:
- Music should support the dialogue. Keep its volume controlled at 10%~20% of your main vocals.
A Quick Note for Vlogging Platforms
As a Vlogger, meeting platform requirements is crucial. If your audio is too quiet, platforms may compress your dynamics; too loud, and they’ll turn your volume down automatically, losing impact. To make sure your wireless mic is optimized for YouTube, TikTok, and other platforms, read this guide on wireless mic gain for YouTube and TikTok.
Conclusion
Think of audio like focusing your camera: You must point the mic (focus) at the subject (vocals), then use the right settings (gain) and filters (NC/Low Cut) to optimize the environment.
Core Formula: Golden Position (15~20cm) + Safe Gain (~ -6dB) + Contextual Noise Control.
Stop letting bad audio hold your VLOG back!
To learn more about the latest news from BOYA, join in our official social media accounts: Facebook, Youtube, Instagram.
Frequently Asked Questions
Wired vs. Wireless for Indoor recording?
Both are good. Wireless microphones are more recommended because their built-in AI Noise Cancellation handles AC/fan hum better. However, if the room is truly quiet, the raw audio quality from a wired lav is still slightly superior.
What if my mic has no real-time monitoring?
Always test first. Record 30 seconds, unplug the receiver, and play the video back immediately to check the levels and clarity. This is the only way to catch unusable audio.
The wind noise is too extreme for the mic to handle.
Wind is a physical problem, not an electronic one. Use the furry windshield (physical barrier) first, and then enable Low Cut. If the wind is literally flapping your clothes, you need to change locations.