







💡 Key Takeaways
- The Room Trumps the Mic: Room acoustics, microphone placement, and gain staging affect vocal quality far more than the price of your gear.
- The Condenser Trap: High-sensitivity condenser microphones capture beautiful emotional nuance, but they also capture bad room reflections, computer fans, and street noise.
- Dynamics Are Forgiving: Cardioid dynamic microphones are often one of the most practical choices for untreated bedrooms or noisy apartments.
- Modern USB Is Legit: Modern USB microphones are no longer just for video calls; they deliver clean digital audio and efficient plug-and-play workflows for home creators.
- Small Adjustments, Big Rewards: Minor layout tweaks—like recording near soft surfaces and managing your gain—create immediate, dramatic improvements.
For modern creators, recording vocals at home is no longer just a temporary compromise. Bedroom studios have become the launchpad for singers, YouTubers, podcasters, streamers, and independent musicians worldwide. Today, chart-topping tracks, viral voiceovers, and global content are regularly tracked, mixed, and mastered without the creator ever stepping foot into a commercial studio.
But there is a frustrating rite of passage almost every beginner encounters: You invest your hard-earned money into a "good" microphone, hit record, and eagerly press playback—only to find your vocals sound distant, thin, noisy, or amateur.
Your immediate instinct? “I need a more expensive microphone.”
Here’s the reality many home creators eventually discover: A more expensive microphone will not automatically fix poor vocal recordings at home. In fact, buying a highly sensitive, $1,000 studio condenser mic without managing your environment will usually make your vocals sound worse.
Achieving clean, professional-sounding vocals at home isn’t about chasing the highest price tag. It is about understanding how sound behaves in an untreated bedroom, choosing a tool that aligns with your real-world environment, and mastering a clean workflow. This guide focuses on the practical factors that actually improve vocal recordings at home.
Why Most Home Vocal Recordings Sound Amateur
Before upgrading your gear, we need to diagnose why home tracks often fail. It is rarely a lack of vocal talent or software processing; it is almost always what happens to the sound waves before they even hit the microphone capsule.
Your Room Is Probably the Biggest Problem
Commercial recording studios are engineered to control resonance and reduce unwanted reflections. Bedrooms, however, are filled with hard, flat surfaces like drywall, glass windows, wooden floors, and desktop setups.
When you sing, your voice doesn't just travel straight into the microphone. It travels past the microphone, reflects off nearby walls and desk surfaces, and returns to the capsule a fraction of a second later. This creates room reflections (or flutter echo), leaving your vocal tracks sounding:
- Hollow and lacking body.
- Echoey and washed out.
- Thin and harsh in the upper-mids.
- Boxy, as if the vocals were trapped inside a small enclosed space.
- Distant, making the vocal struggle to sit forward in a mix.
Once strong room reflections are baked into your recording, they become difficult to remove completely during post-production.
Trying to decide whether you want a streamlined desktop ecosystem or a traditional interface setup to tackle your space? Check out our comprehensive USB Microphone Setup Guide and our deep-dive comparison on USB vs. XLR Microphones to map out your routing options.

Why Expensive Condenser Mics Sometimes Sound Worse at Home
Many beginners assume condenser microphones are always superior because they see them hanging upside down in multi-million-dollar studios. While condensers excel at capturing breath detail and high-frequency texture, they do so because of an ultra-thin, highly sensitive diaphragm.
In an untreated bedroom, that extra sensitivity can become difficult to manage. A high-end condenser won't just capture your voice; it will amplify:
- Mechanical keyboard clicks and mouse movements.
- The hum of your laptop's cooling fan or your refrigerator downstairs.
- A/C units and distant street traffic.
- Reflections caused by nearby hard surfaces and empty walls.
This is why some home creators actually get significantly cleaner, more focused results from a less sensitive dynamic microphone. Professional studios can control room acoustics. Most home setups cannot.
The “Too Far From the Mic” Mistake
When vocalists are afraid of overloading the capsule or causing distortion, they naturally back away from the microphone. Unfortunately, standing too far away allows more room sound to enter the recording.
Because your voice is further away, its direct signal is weak. To compensate, you often need to increase the microphone gain. Turning up the gain pulls more of the ambient room noise and wall reflections straight into your track.
- The Golden Distance: For standard home vocal tracking, stay 5 to 8 inches (roughly one open hand-span) away from the microphone.
- The Pro Angle: Don't sing directly dead-center into the capsule. Angle the microphone slightly off-axis (about 15 to 30 degrees away from your mouth). This allows the explosive air blasts from plosives ("P" and "B" sounds) to bypass the capsule while still capturing the full warmth of your voice.
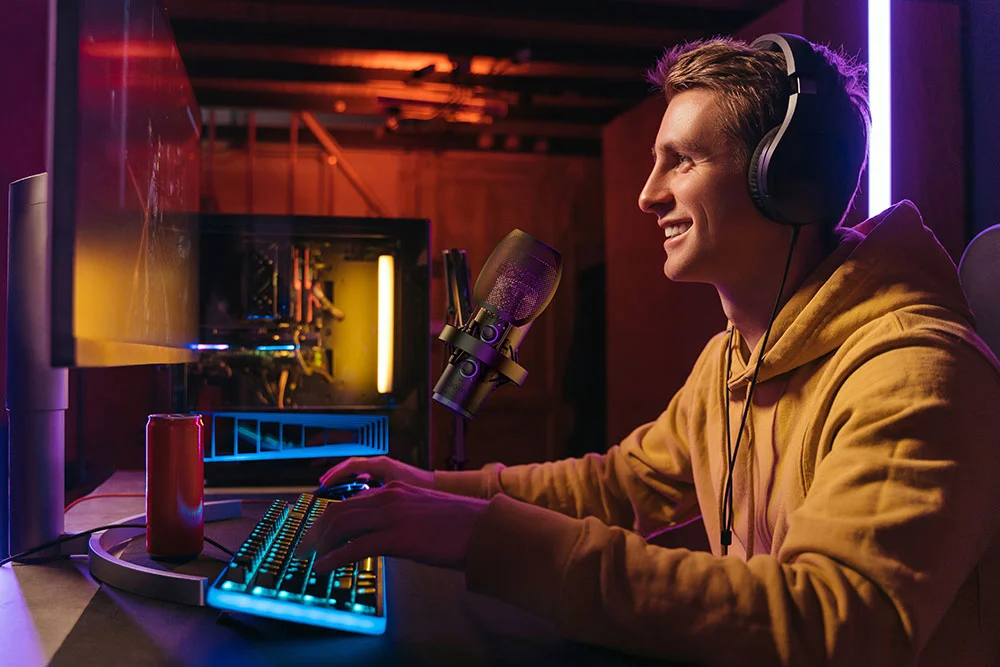
How to Choose the Best Microphone for Recording Vocals at Home
Instead of relying on generic top-ten lists, you should choose your microphone setup based on two cold realities: your room's acoustic condition and your daily creative workflow. Different creators require entirely different tools to achieve professional-quality vocals.
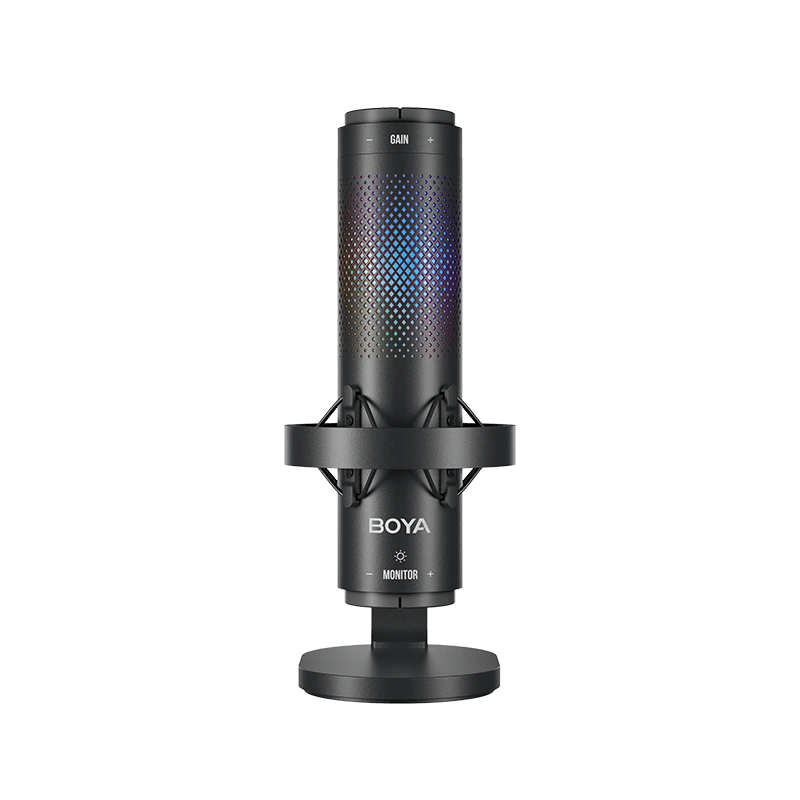
1. For Singers and Bedroom Producers Tracking Music
If your goal is capturing pure vocal dynamics, emotional breathing texture, and that expensive high-end "sheen" that defines modern pop, RnB, or acoustic tracks, a true large-diaphragm studio condenser setup is unmatched due to its superior transient capture. However, condenser capsules use an ultra-thin, highly sensitive diaphragm. If your room sounds bad, a traditional condenser mic will reveal it very quickly by recording background echoes alongside your voice. You need a setup that balances studio-grade capsule architecture with highly flexible directional targeting.
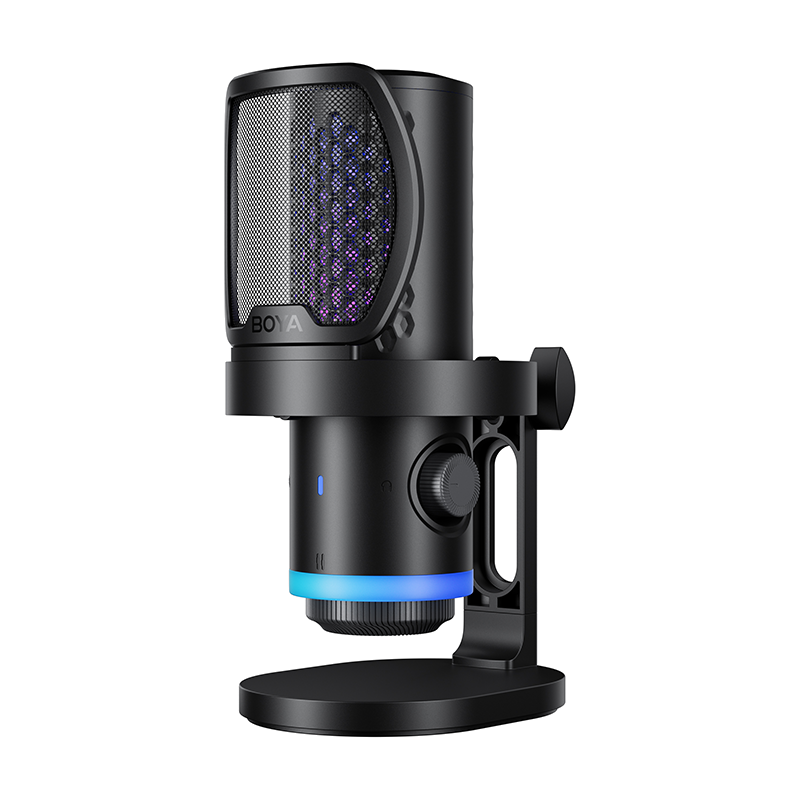
- The Setup Recommendation: BOYA BY-K9. This flagship USB studio condenser microphone features a massive 34mm gold-sputtered true condenser capsule, delivering a pristine, release-ready 48kHz/24-bit resolution. What makes it a home studio game-changer is its multi-pattern versatility, supporting three distinct polar patterns: Supercardioid (perfect for tight front-facing vocal tracking while rejecting side-room reflections), Figure-8 (ideal for face-to-face duets or interviews), and Omnidirectional (for capturing natural room ambiance). Paired with real-time headphone monitoring and onboard gain control, it gives you total mastery over your musical delivery.
- Environment Requirement: Best paired with a quiet room controlled by soft materials, thick rugs, or hung blankets. Utilizing its sharp Supercardioid mode helps significantly reduce loose flutter echoes from treating untreated side walls.
2. For Streamers, Gamers, and Hybrid Creators
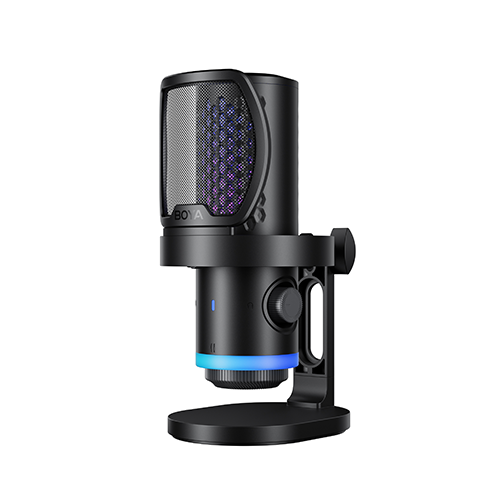
Modern creators often run a "hybrid workflow" where one desktop microphone must seamlessly handle singing demos, live streaming, and Discord chats. For these untreated, multi-purpose bedroom setups, a tight cardioid polar pattern and desktop isolation are the ultimate secret weapons to completely ignore background car traffic, PC cooling fans, or mechanical keyboard clicks bouncing around your desk.
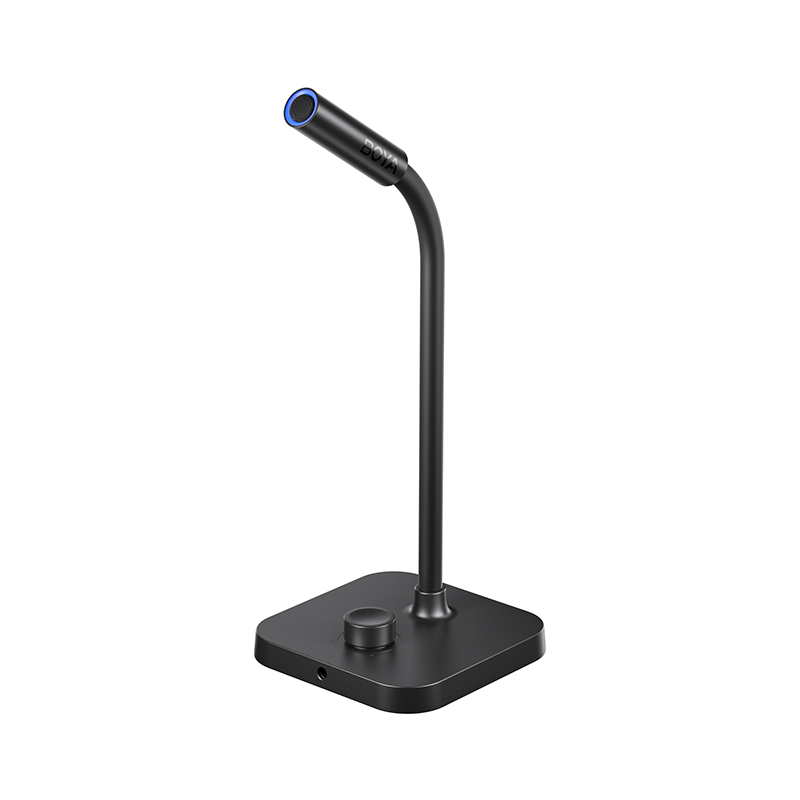
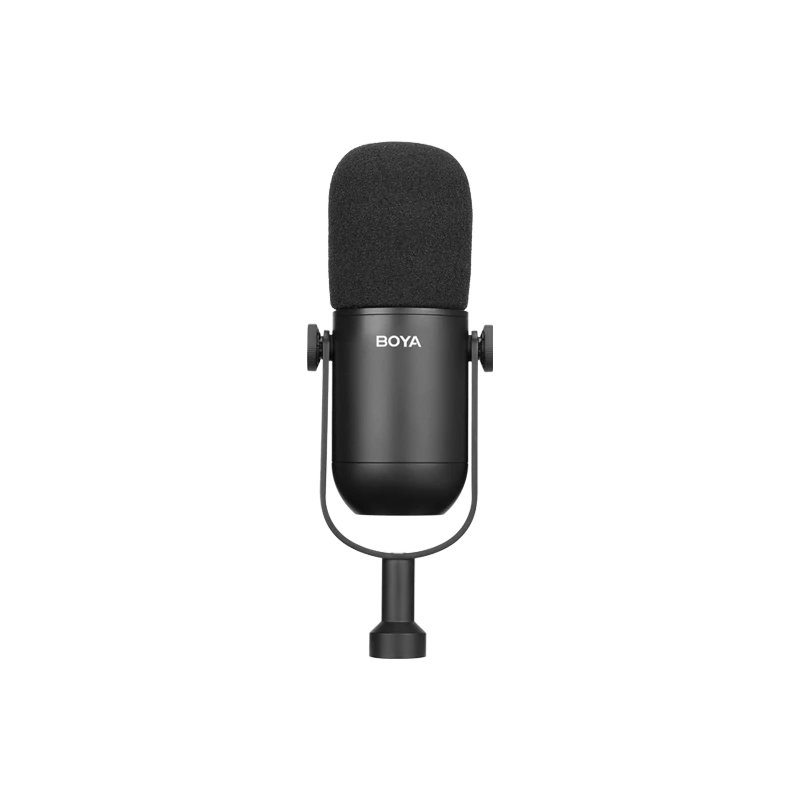
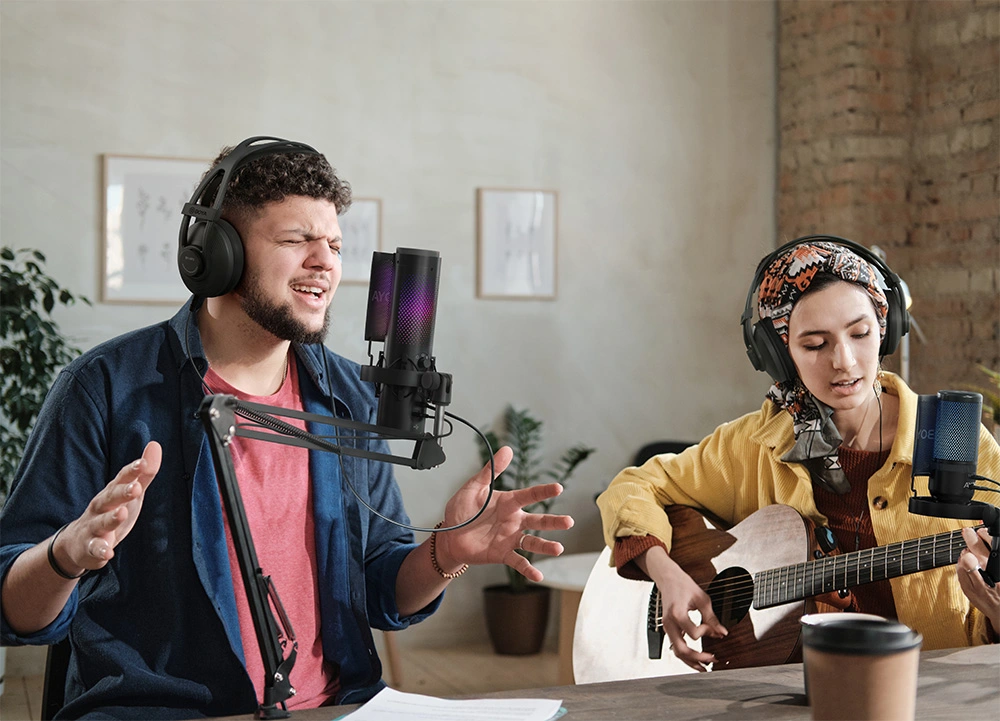
- The Setup Recommendation: BOYA CastMic G40. Specifically engineered for desk-bound creators, the CastMic G40 utilizes a highly directional cardioid pickup pattern that focuses strictly on your front-facing voice while actively rejecting off-axis background noise. It includes an integrated heavy-duty shock mount to kill desktop low-frequency thumps, physical gain adjustment, and immersive RGB lighting to fit modern streaming setups.
- Environment Requirement: Completely forgiving. This is the ideal plug-and-play solution for completely untreated bedrooms, noisy apartments, or open creative desks.
3. For YouTubers, Podcasters, and Content Creators Prioritizing Speed
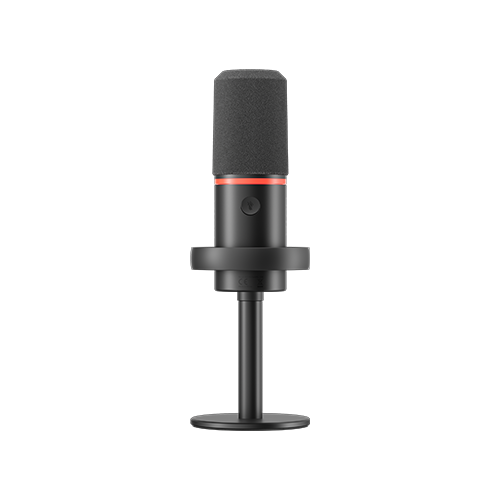
If you are a solo content creator tracking rapid voiceovers, narrations, or episodic podcasts, your biggest enemies are overcomplicated gear chains and time-consuming post-processing. While old-school XLR studio setups require complex external interfaces and routing menus, modern streamlined USB systems integrate clean analog-to-digital conversion directly into the chassis for an efficient, release-ready workflow.
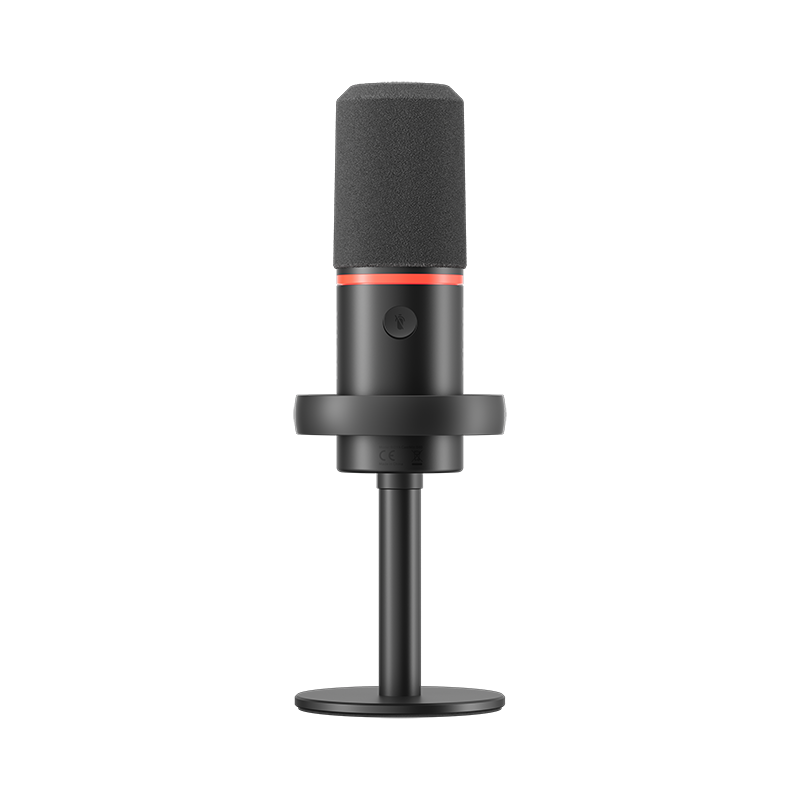
- The Setup Recommendation: BOYA CastMic S60. Built for pure convenience without sacrificing high-end fidelity, the CastMic S60 features dual selectable polar patterns (Cardioid for isolated speech/singing, and Omnidirectional for multi-person interviews). With its intuitive touch-to-mute button, direct volume/gain scaling, and standard Type-C interface, it allows solo creators to plug in, record broadcast-grade vocals, and jump straight into editing within seconds.
Quick Decision: Which BOYA CastMic Fits Your Room and Workflow?
To help you pick the perfect match for your home studio setup, use this simplified matrix detailing how each model handles real-world bedroom recording environments:
| Microphone Model | Best For (Creator Archetype) | Ideal Room Environment | Key Advantage for Home Vocals |
|---|---|---|---|
| BOYA K9 | Singers, Musicians, and Bedroom Music Producers | Controlled/Quiet Spaces (Supercardioid mode helps block side noise) | Flagship 34mm gold-sputtered capsule, 48kHz/24-bit resolution, 3 polar patterns (Supercardioid/Fig-8/Omni). |
| BOYA CastMic S60 | YouTubers, Podcasters, and Voiceover Artists | Standard Untreated Rooms (semi-quiet setups) | Ultra-fast workflow, touch-to-mute button, dual pattern flexibility (Cardioid/Omni). |
| BOYA CastMic G40 | Streamers, Gamers, and Hybrid Creative Desks | Noisy Apartments & Completely Untreated Spaces | Maximum ambient noise rejection, built-in anti-vibration shock mount, customizable RGB. |
5 Actionable Tweaks to Instantly Improve Your Home Vocal Quality
You do not need an expensive studio renovation or a full professional setup to improve your recordings. Small adjustments to your recording habits and room setup can make a surprisingly large difference in vocal quality.
- Set Your Gain Properly and Monitor with Headphones
Clipped vocal recordings are extremely difficult to repair later. Before recording, sing the loudest section of your performance and adjust your microphone gain so your peaks stay around -12 dBFS inside your DAW.
Using closed-back headphones with real-time monitoring also helps you catch background noise, distortion, mouth clicks, or inconsistent vocal levels before the recording session is finished.
- Record Slightly Off-Axis and Use a Pop Filter
Instead of singing directly into the microphone capsule, angle the microphone slightly to the side (around 15 to 30 degrees). This helps reduce harsh plosive sounds from words containing “P” and “B” while still keeping your vocals full and natural.
A pop filter also helps maintain a consistent recording distance. For most home vocal setups, staying around 5 to 8 inches away from the microphone creates a balanced, controlled sound.
- Use Soft Materials to Reduce Room Reflections
Hard walls, bare floors, and large desk surfaces reflect sound back into the microphone very quickly. Instead of relying entirely on cheap acoustic foam, use thick curtains, rugs, blankets, or soft furniture to help absorb reflections around your recording area.
Even small changes to your room layout can noticeably reduce echo and make vocals sound more focused.
- Try the “Closet Recording” Trick
If your room sounds hollow or overly reflective, recording near hanging clothes can work surprisingly well. Clothing naturally absorbs sound reflections and helps create a drier vocal recording with less room echo.
For many home creators, a closet full of clothes can perform better than basic budget acoustic foam panels.
- Reduce Background Noise Before You Record
Computer fans, air conditioners, keyboards, and nearby traffic can easily become part of your recording without you noticing. Before pressing record, turn off unnecessary electronics and move noisy devices away from the microphone whenever possible.
If your environment is especially noisy during the day, recording late at night or early in the morning can significantly lower the overall background noise level.
Final Thoughts: The Best Vocal Mic Is the One That Fits Your Room
At the end of the day, modern home recording is about balance, not perfection. Even the most expensive studio microphone can only capture the sound of the room around it. If the room sounds bad, the recording usually will too.
Assess your space honestly. If your room is untreated and noisy, lean into the forgiveness of dynamic options or modern USB microphone setups. If your space is quiet, damp, and controlled, take advantage of the extra detail a condenser microphone can provide. The right microphone should support your creativity, fit naturally into your workflow, and help you focus more on performance than on technical frustration.
Frequently Asked Questions (FAQ)
Why do my vocals sound echoey at home?
This is almost always caused by room reflections rather than the microphone itself. Hard walls, bare floors, and flat desks reflect your voice back into the capsule with a slight delay, creating an unwanted echo or boxy tone.
Is a condenser microphone always better for vocals?
No. While condenser microphones capture incredible detail, their extreme sensitivity means they also pick up room echo, street noise, and computer fans. In an untreated room, a dynamic microphone often produces a much cleaner, tighter track.
Can USB microphones sound professional?
Yes. Modern USB microphones utilize high-quality internal preamps and analog-to-digital converters that are capable of delivering excellent sound quality for recording vocals, podcasts, and content at home.
How close should you stand to a vocal microphone?
For most vocal tracking, staying 5 to 8 inches (roughly one open hand-span) away from the microphone yields the best balance of warmth, clarity, and isolation.
What is the best microphone for untreated rooms?
Cardioid dynamic microphones are highly recommended for untreated rooms because they focus more on nearby sound sources while naturally reducing background room noise.
Do I need acoustic foam for home vocal recording?
Not necessarily. Cheap, thin acoustic foam only absorbs ultra-high frequencies, leaving your room sounding dull but still boxy. Thick household blankets, open clothing closets, and heavy rugs are often far more effective at balancing a space.
Why does my microphone pick up keyboard noise?
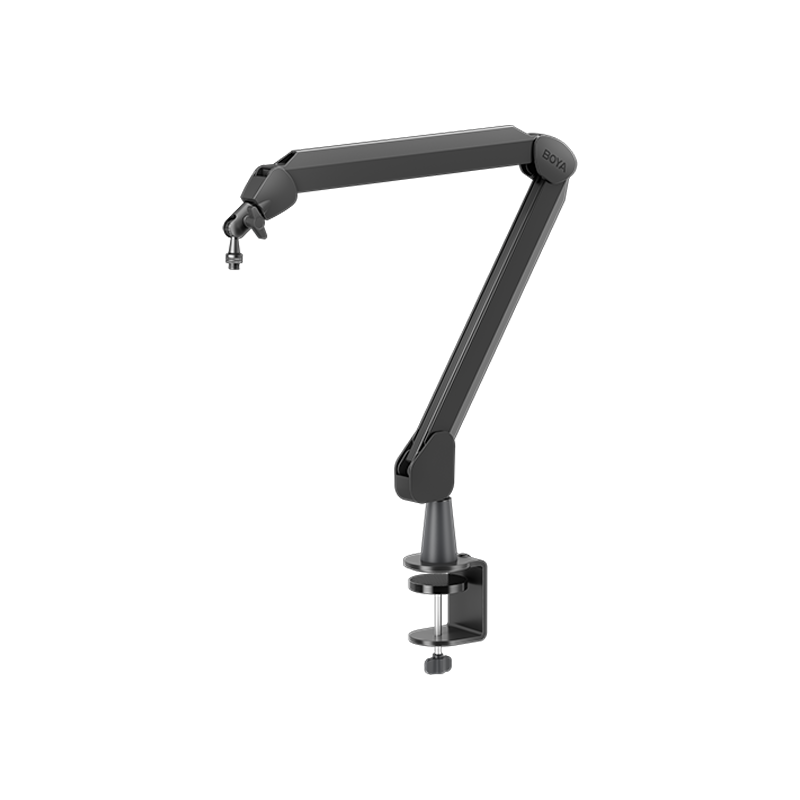
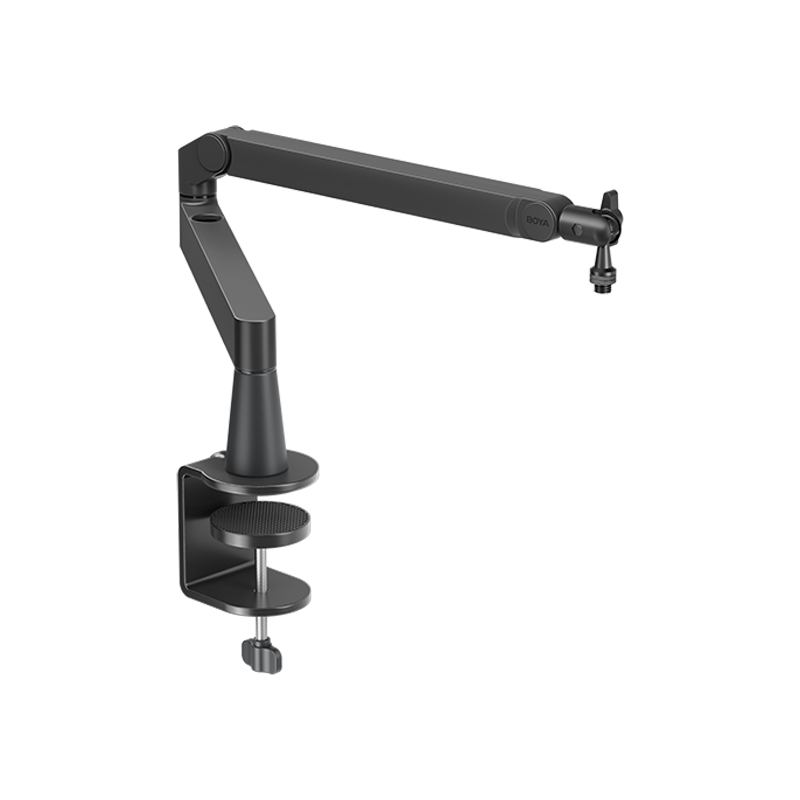
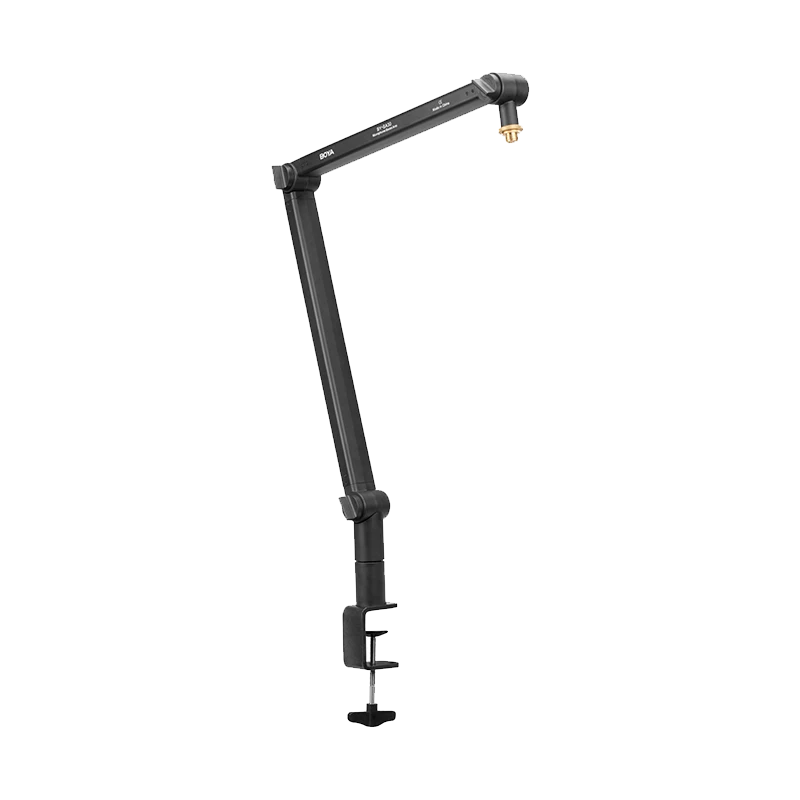
Sensitive microphones—especially condensers—capture nearby desk vibrations and typing sounds easily. Mounting your microphone on a dedicated boom arm with a shock mount will significantly isolate it from desktop vibrations.
Should I choose a USB or XLR microphone for home vocals?
USB microphones are easier to set up and are ideal for beginners or creators who want a clean desktop workflow. XLR microphones offer greater upgrade flexibility and are commonly used in traditional studio environments. The best choice depends on your workflow, budget, and long-term recording goals.